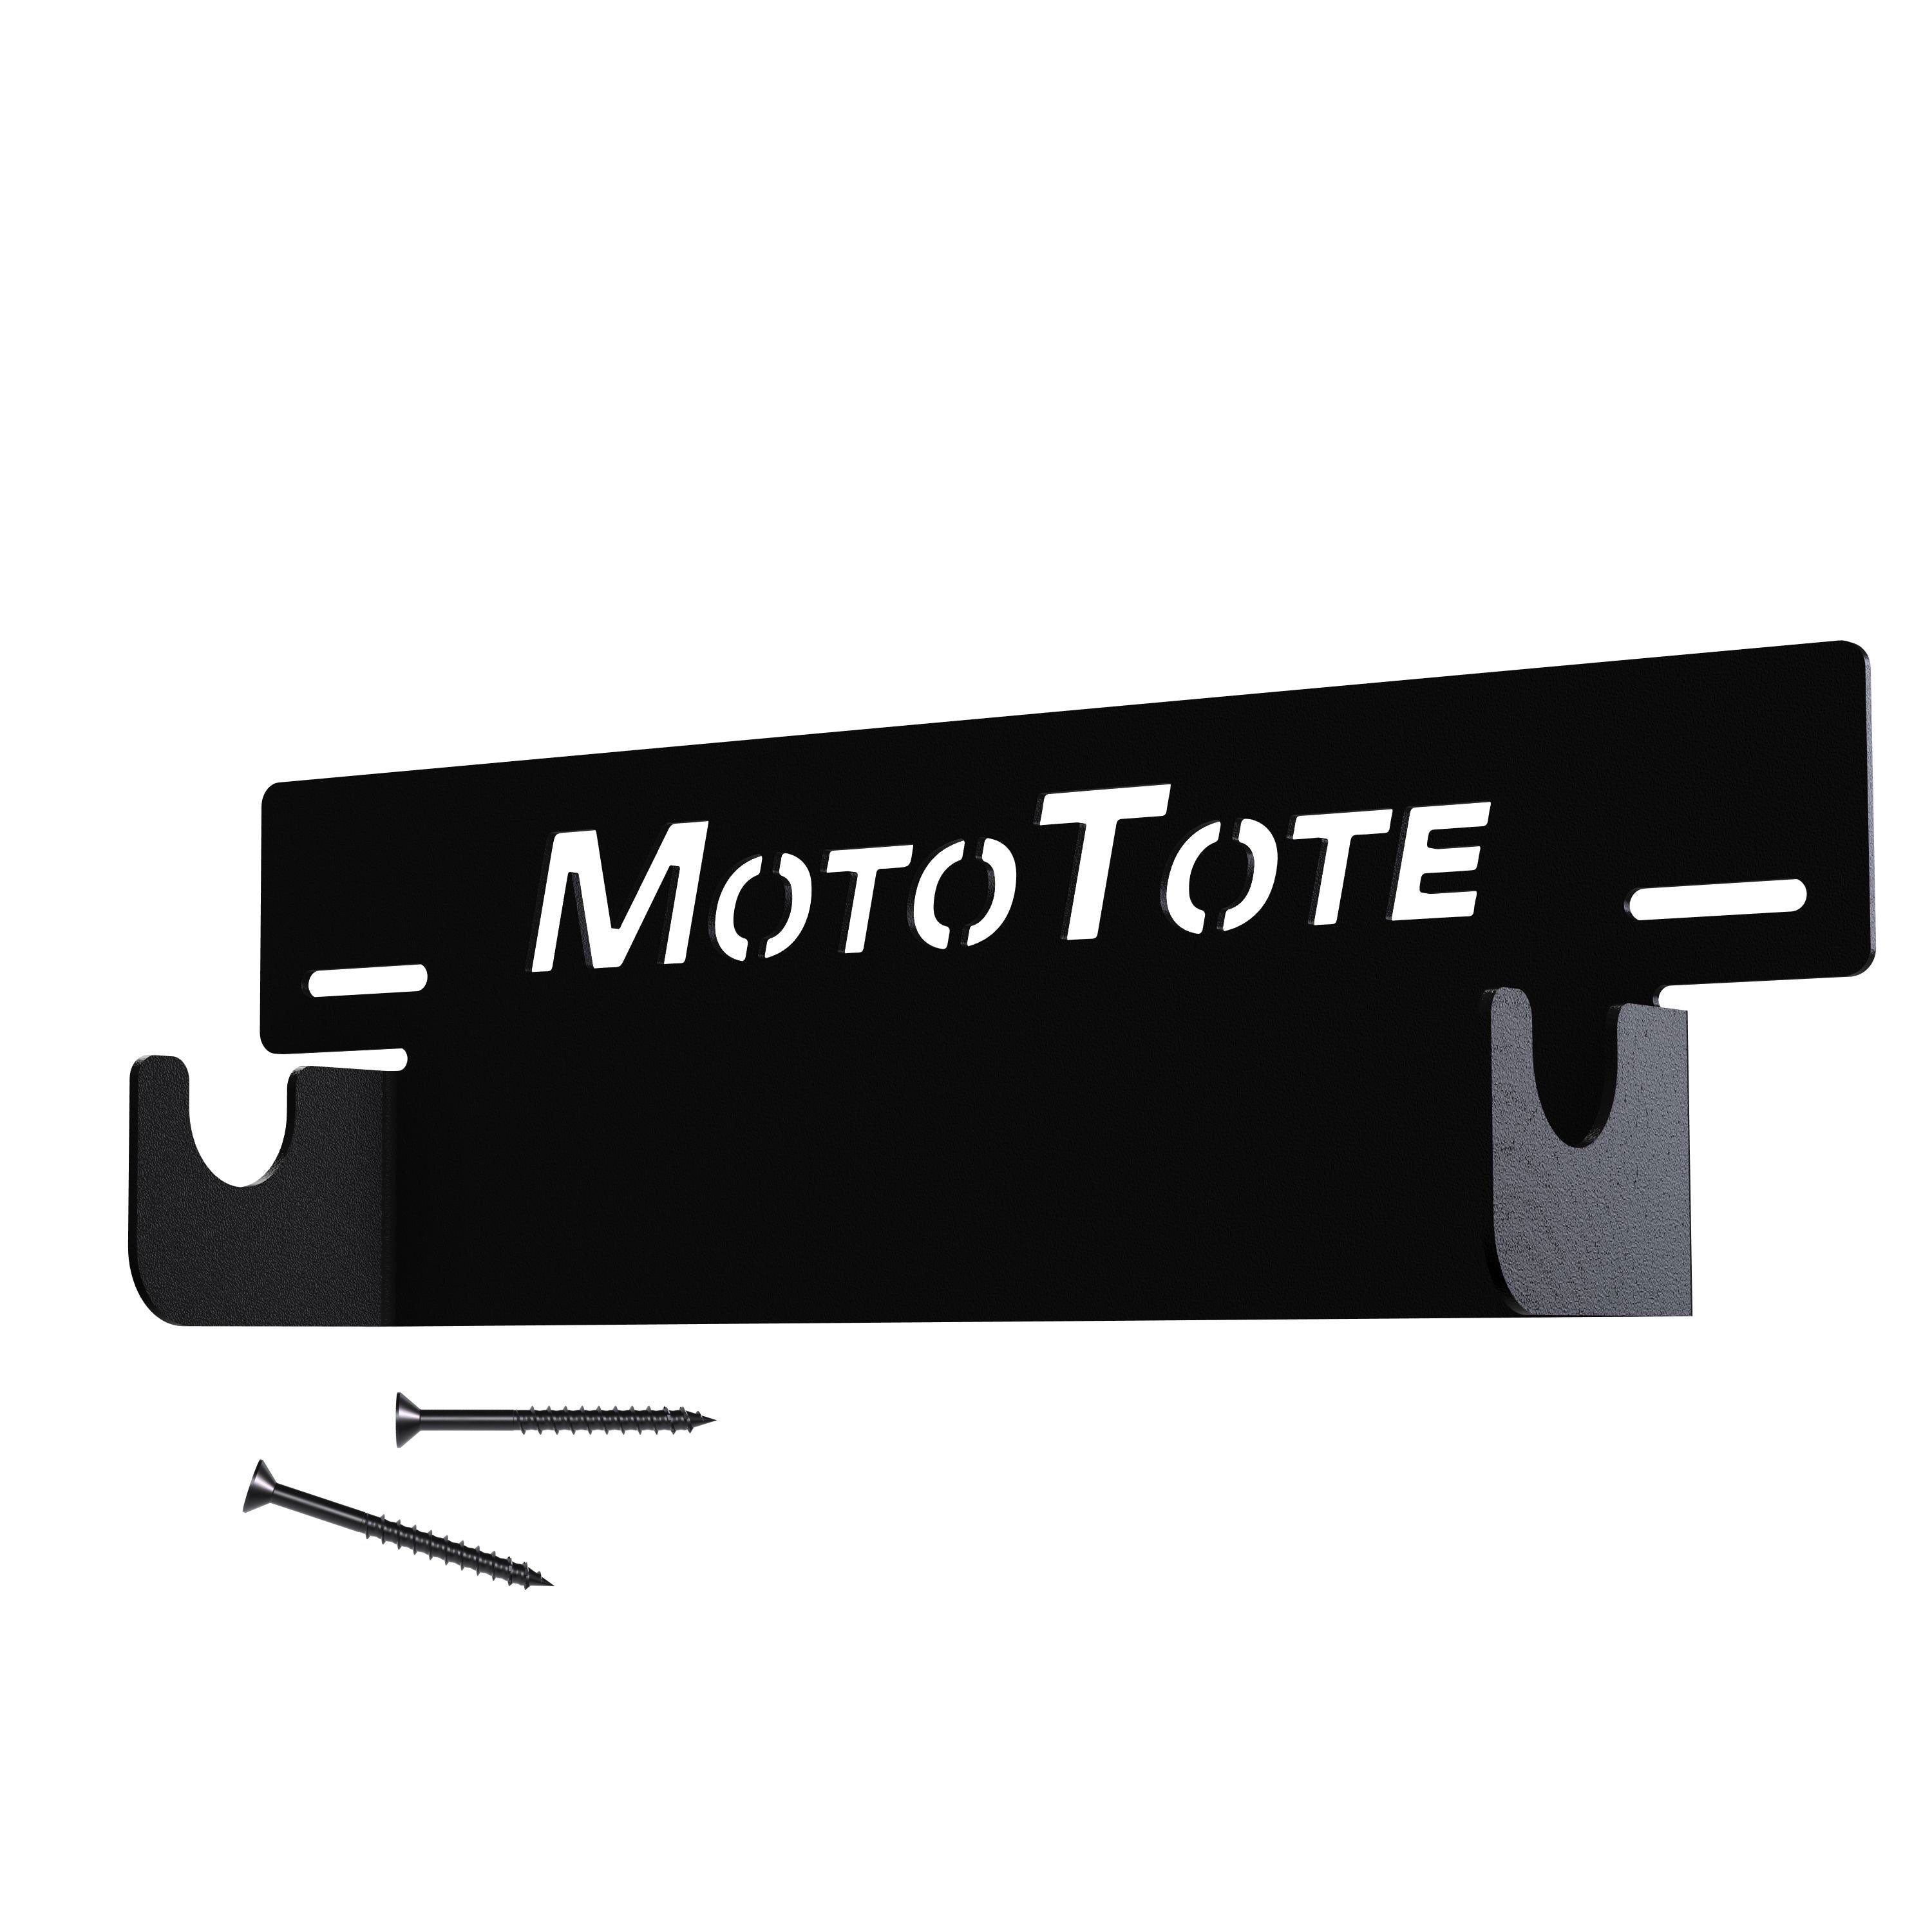
1. Unpack the MotoMount
Remove the MotoMount and included hardware from the box. Make sure all parts are accounted for before beginning installation.
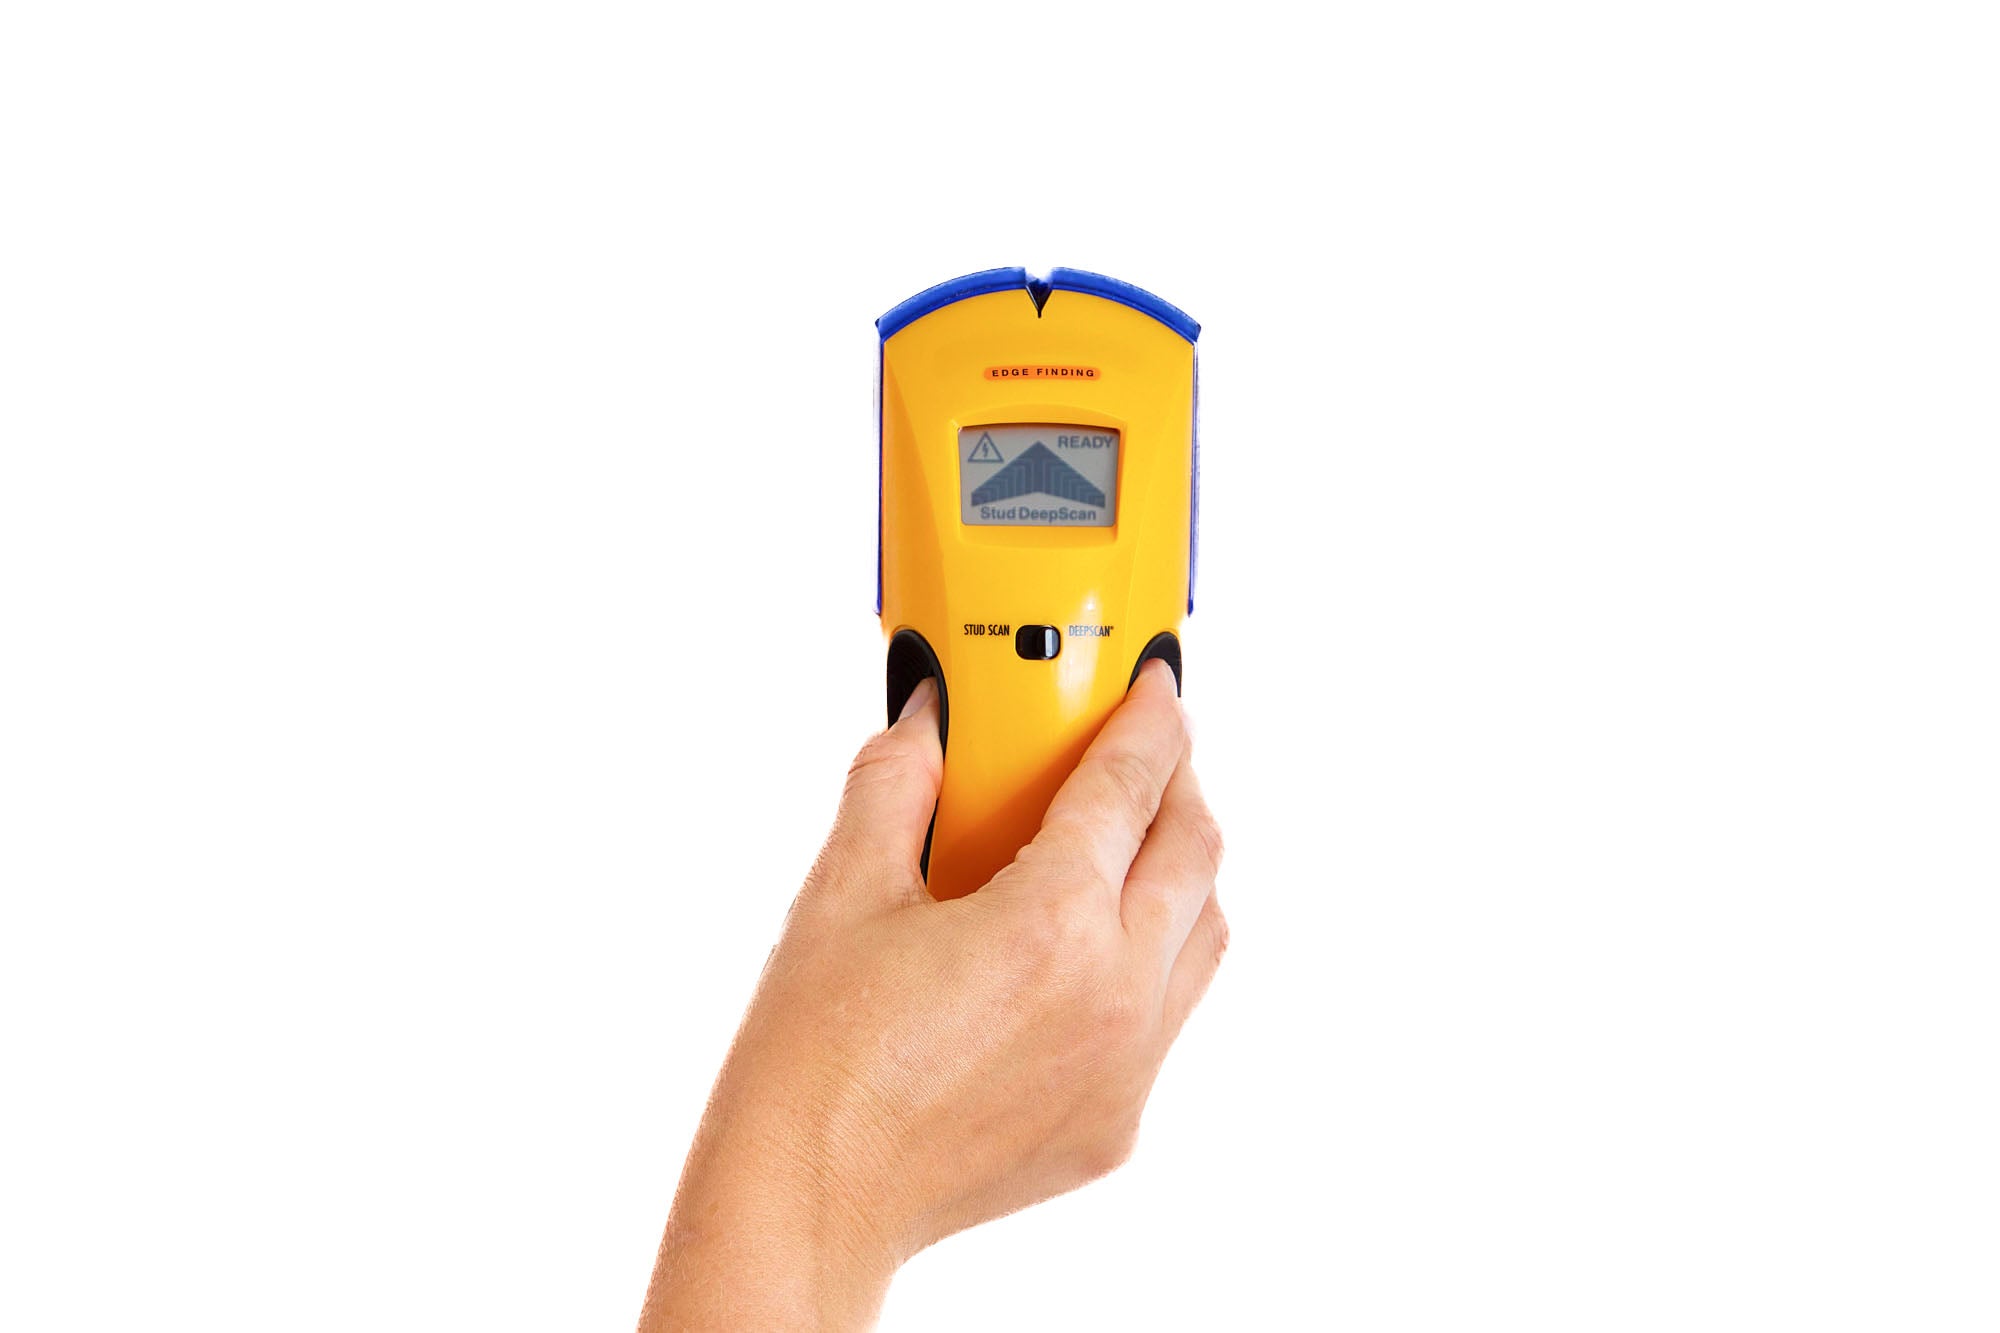
2. Plan Your Mounting Location
Choose a wall section with at least two vertical studs spaced to match the MotoMount’s mounting slots at 16" apart. Ensure the height allows the carrier to hang fully off the ground—or at least level—to keep it stable and supported. Use a stud finder to locate and mark two studs where the MotoMount will attach. Double-check spacing before proceeding.
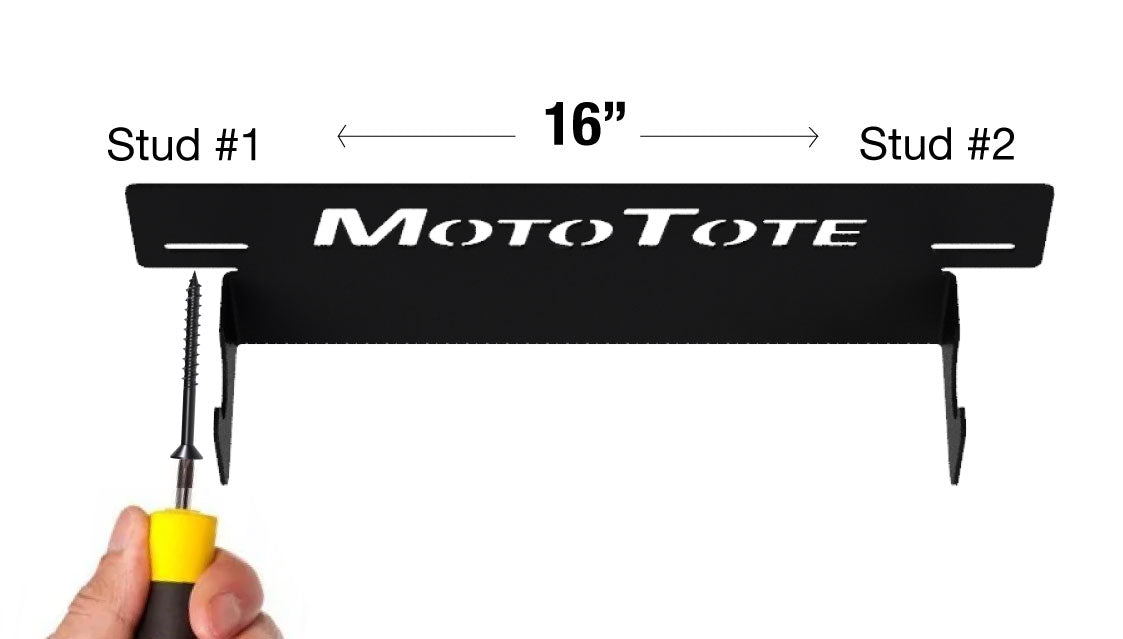
3. Mount the MotoMount
Hold the MotoMount against the wall, aligning its slots with your stud marks. Using the included screws and washers, fasten one side into the first stud. Level the mount, then secure the other side into the second stud. Tighten all screws until the MotoMount is firmly seated against the wall.
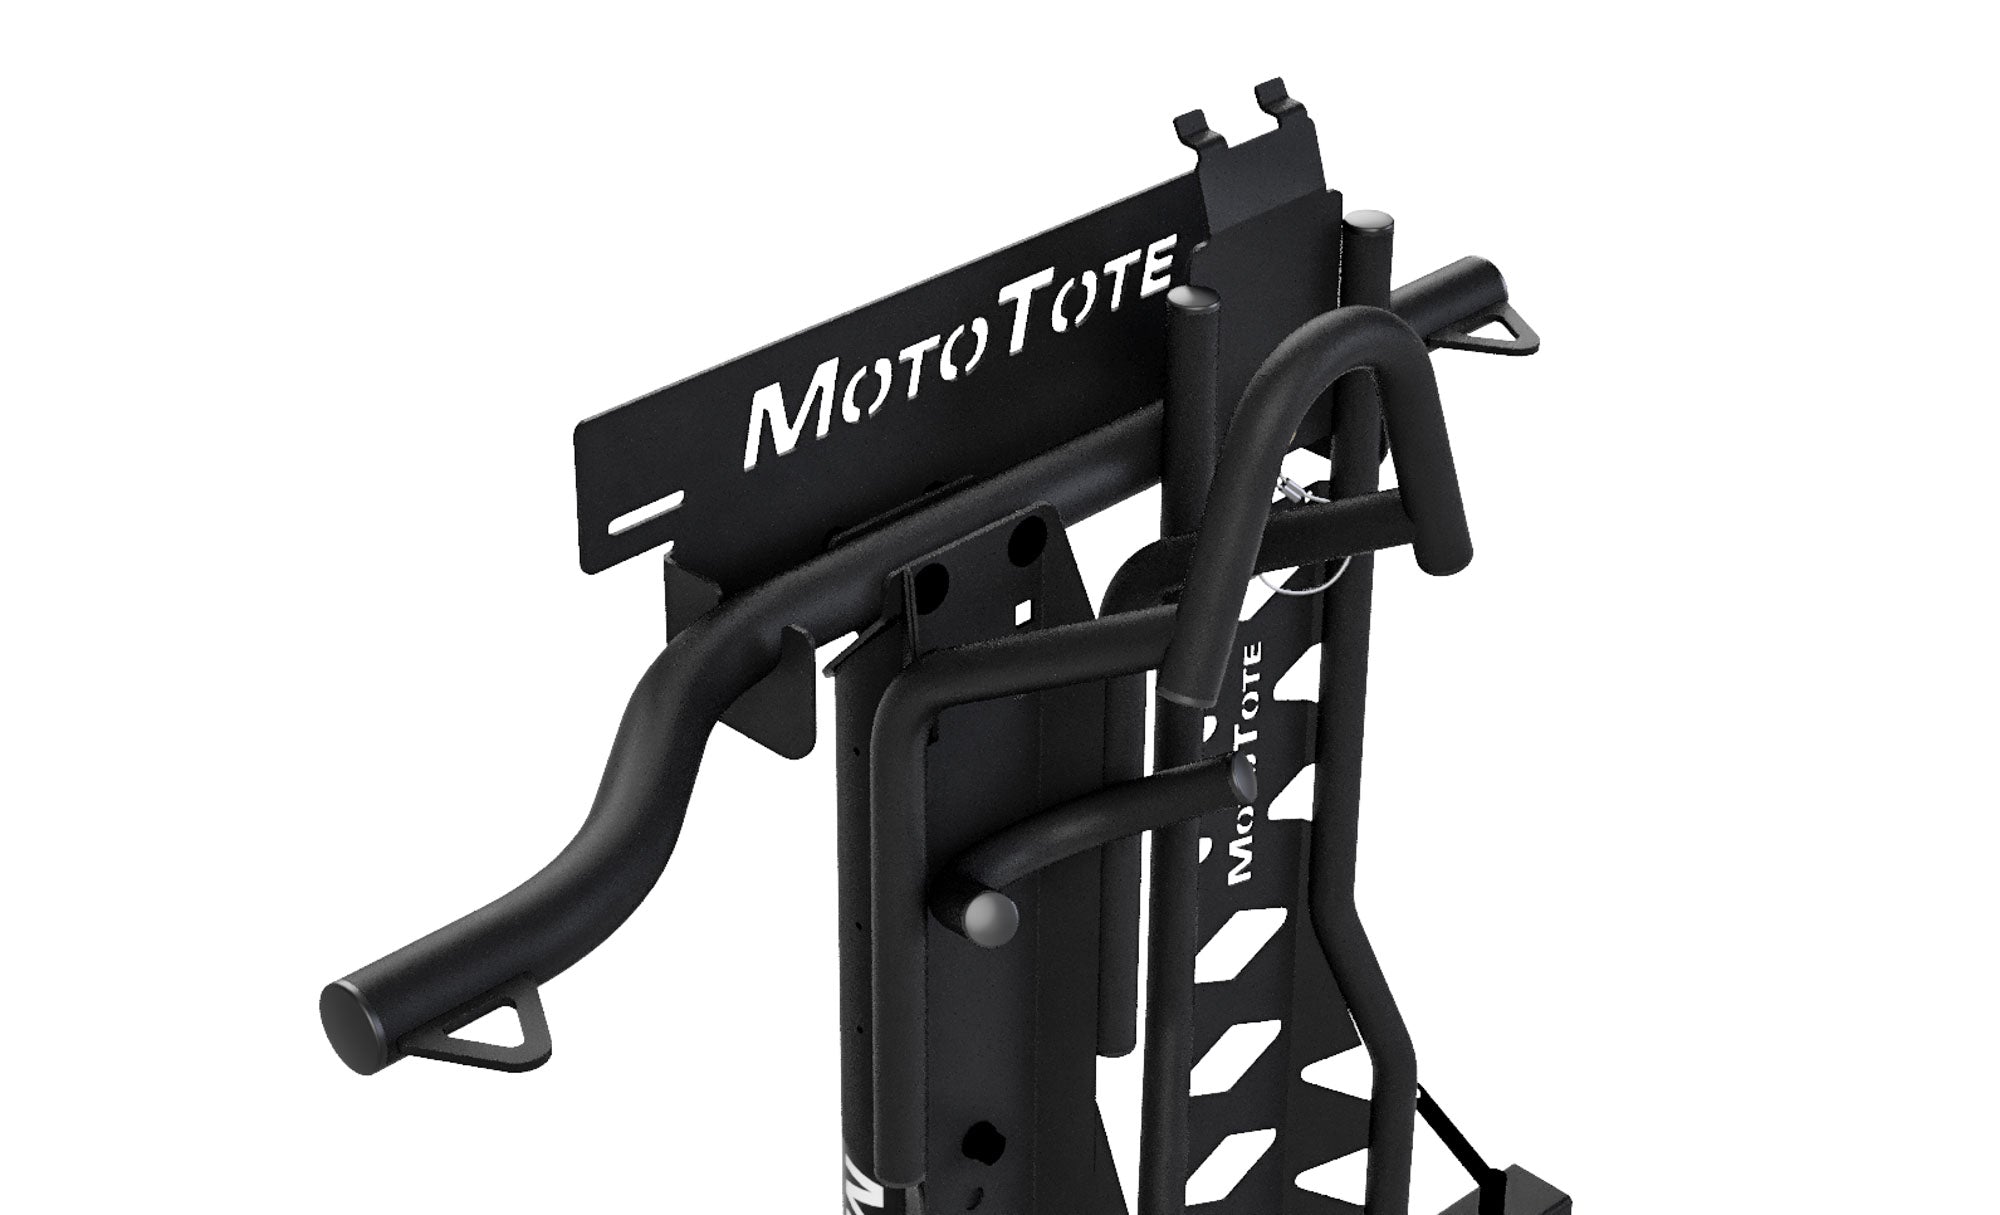
4. Hang Your MotoTote®
Lift your carrier and insert the tie-down arm into the MotoMount slots as shown. Once engaged, the carrier should hang securely off the ground, ready for storage.