Step 1-5
Assembling the Height Adjustable Tube
Viewing instructions for Height Adjust
Step 1 – Plan Your Height Adjustment
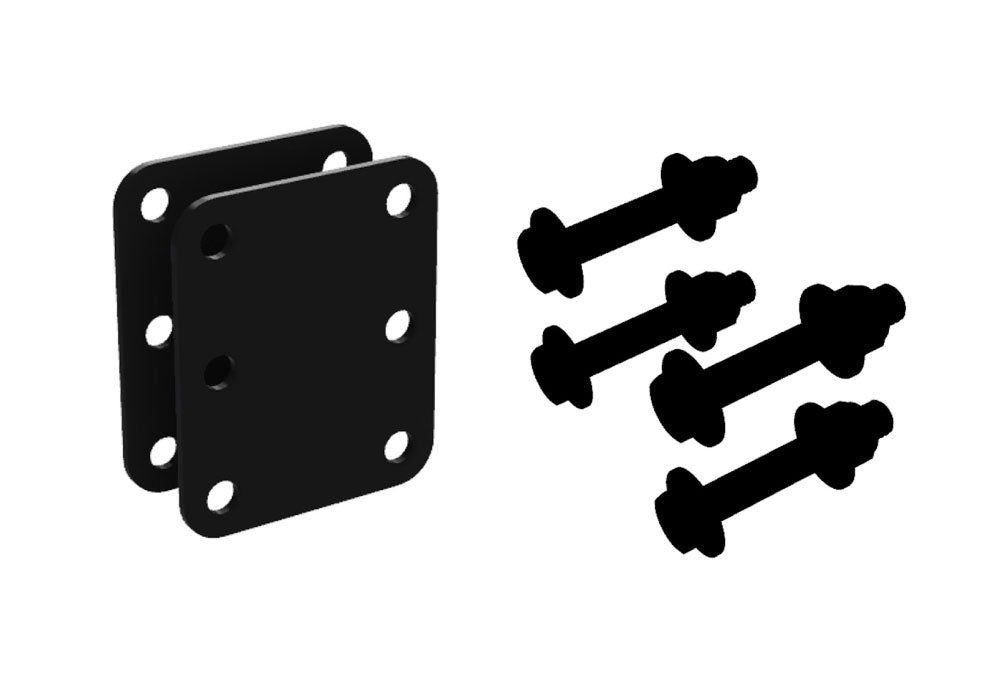
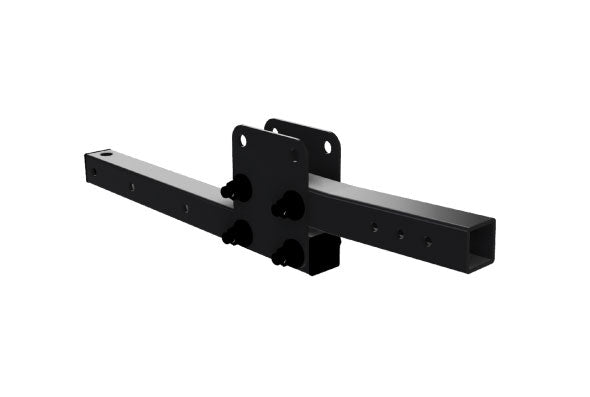
Start by locating the two rectangular side plates included in your kit. You’ll also need the hardware: 4 of each bolts, washers, and nuts — these will be used to secure the parts in later steps. Before assembly, take a moment to plan how you'd like to adjust the height of your MotoTote. The Height Adjust Tube gives you the flexibility to raise or lower the carrier by either 2.5 inches or 5 inches, depending on your needs. You can raise it for more ground clearance, or lower it for easier loading. The next step will show you how to position the side plates and tubes for each configuration.
Step 2 - Choose Your Height Adjustment
In this step, you’ll choose how you want to set the height. Each option below shows a different way to install the side plates and square tubes based on your desired adjustment.
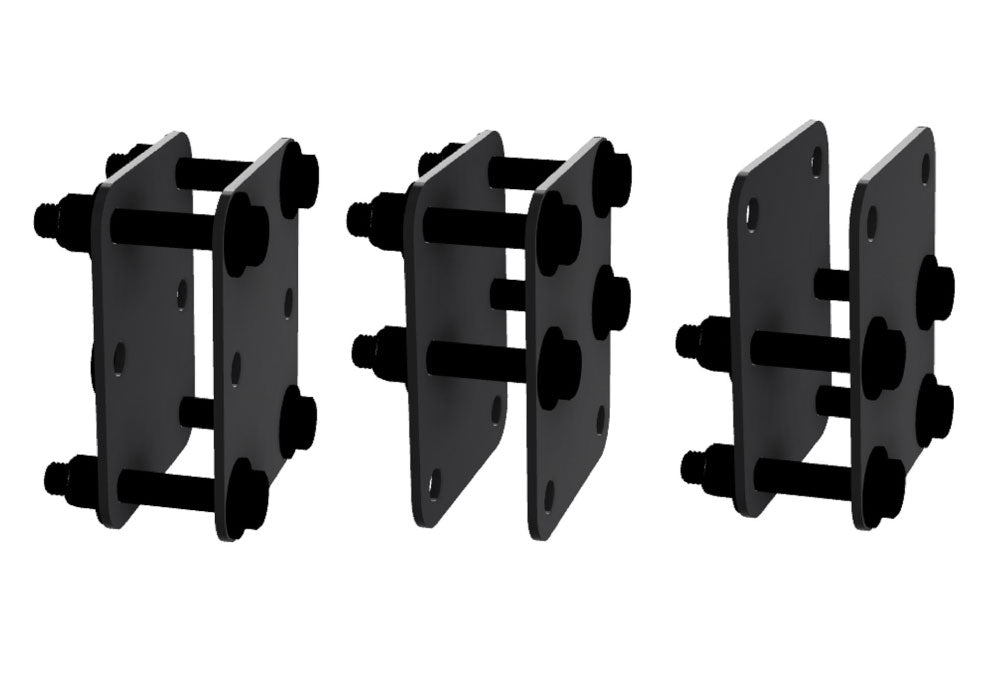
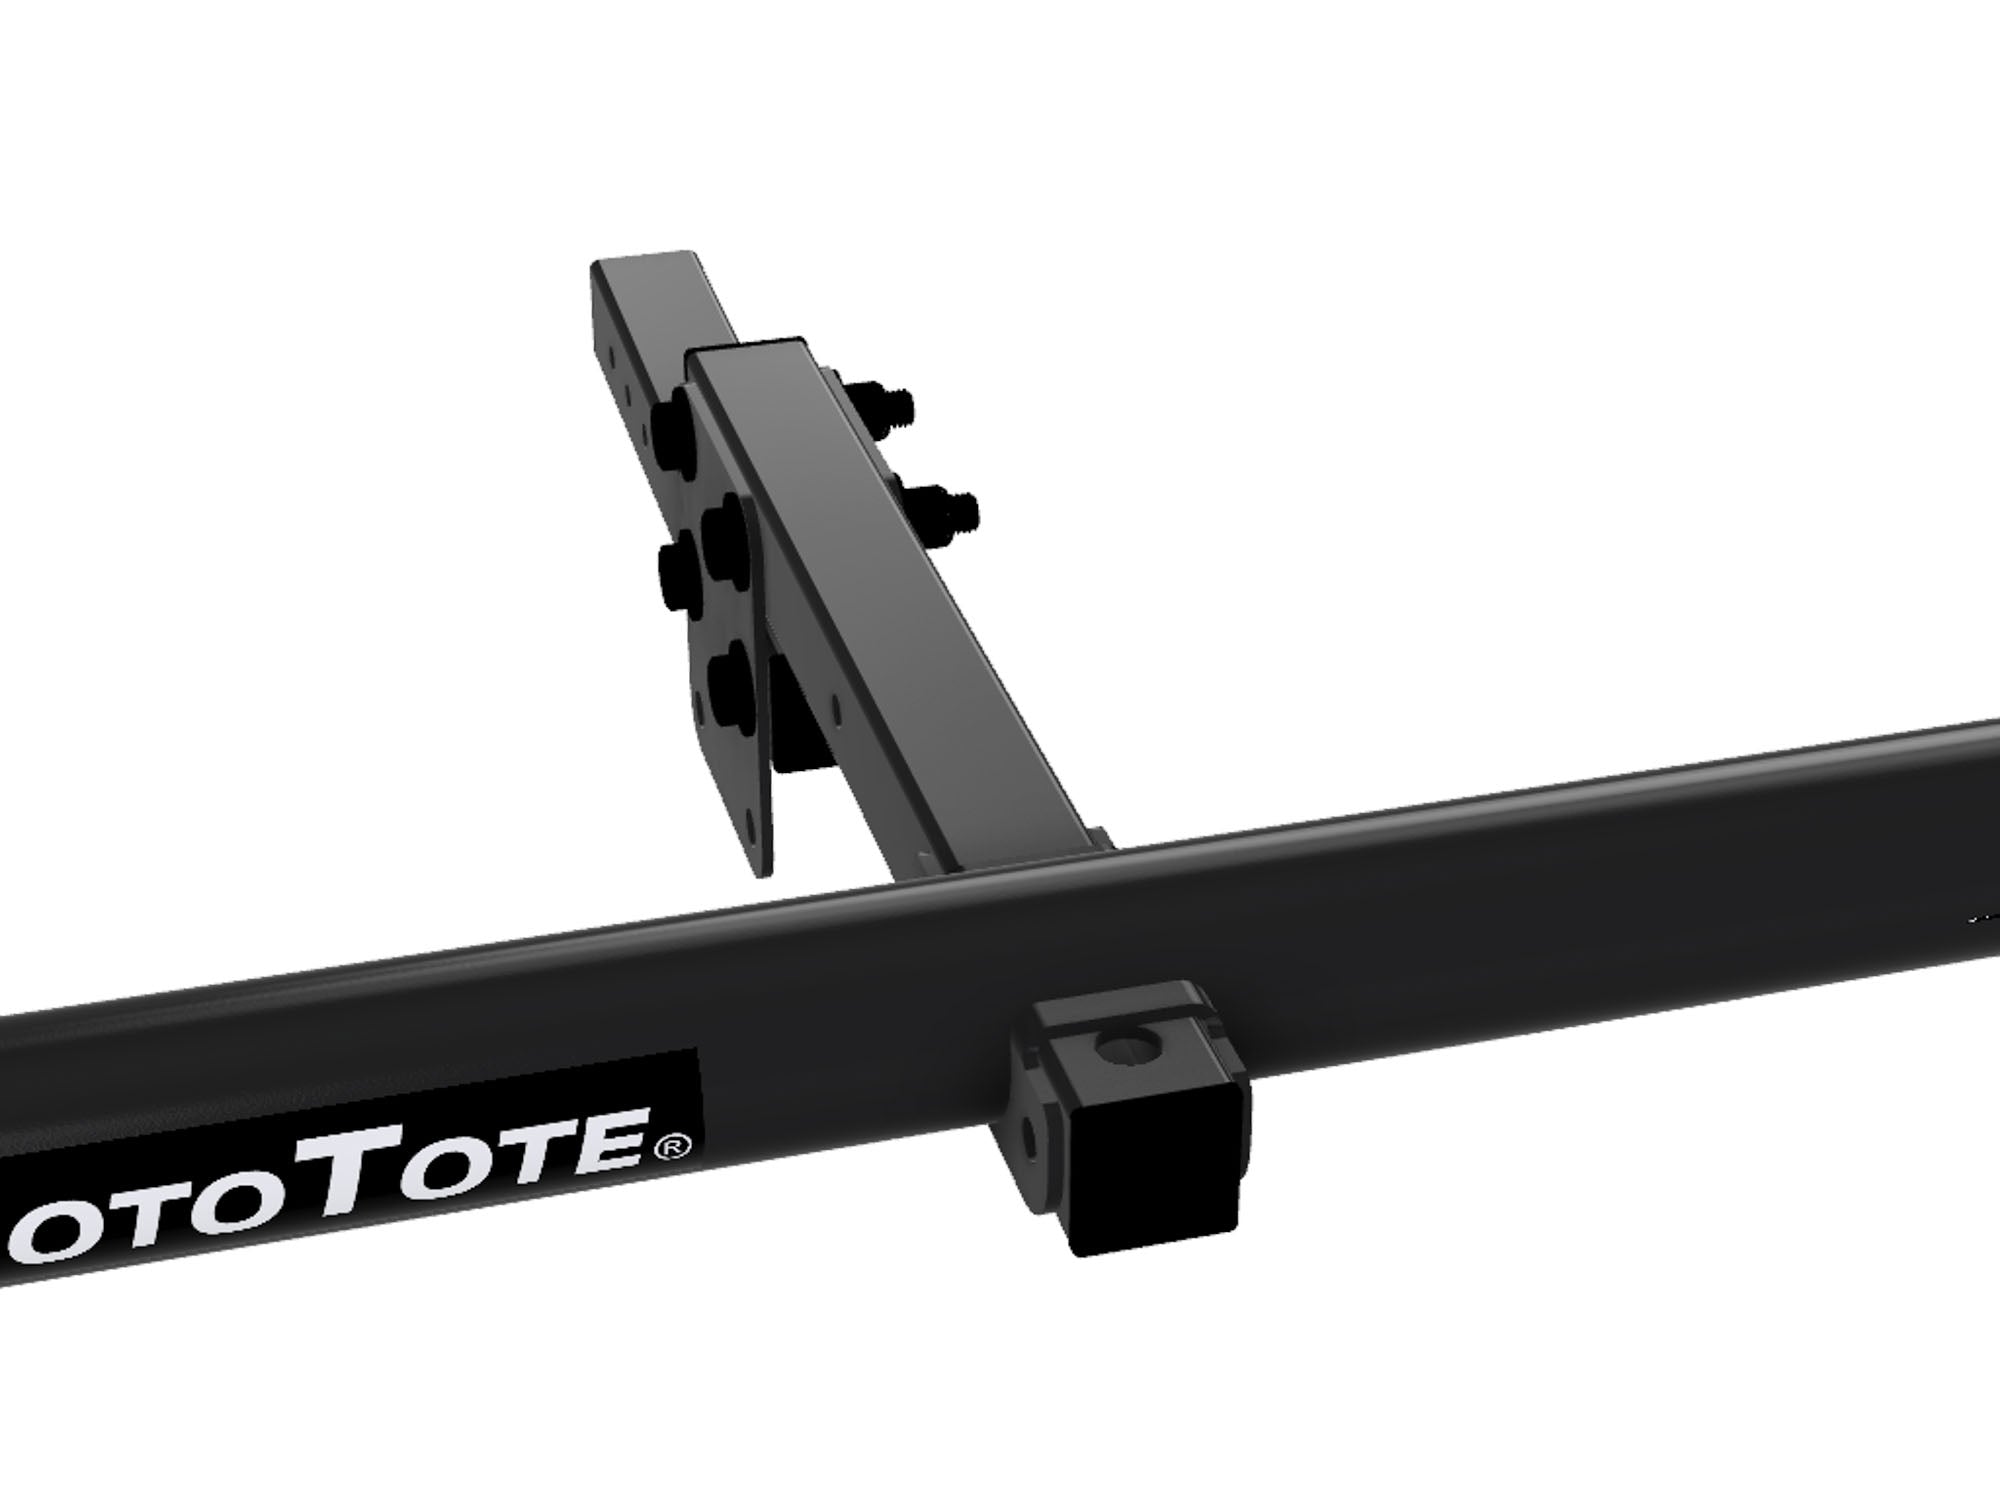
Height Adjust Options
Option A - Raise by 2.5"
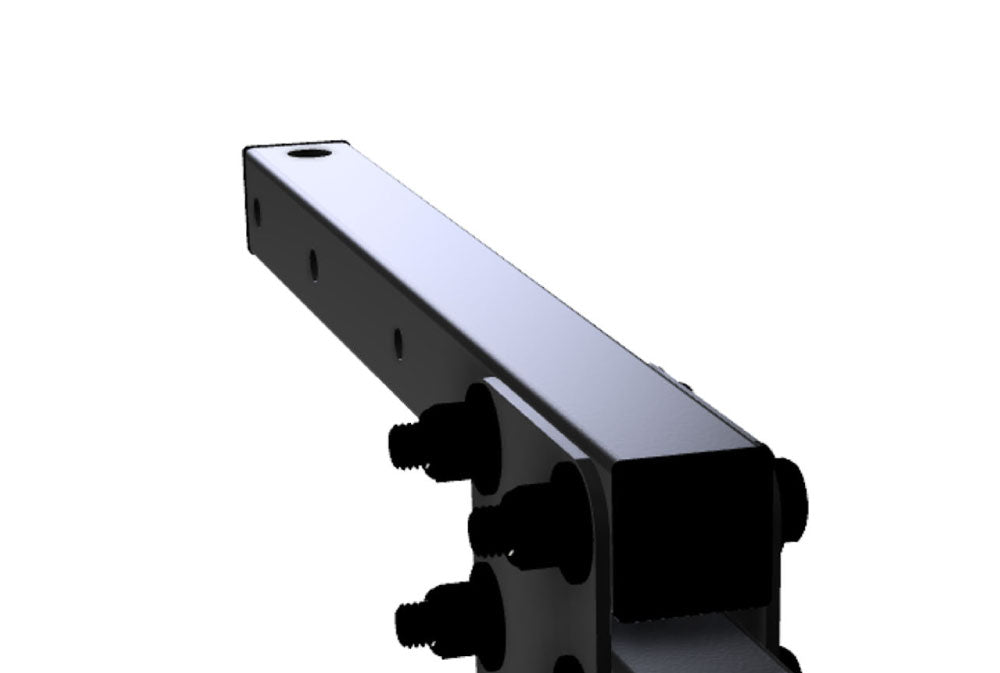
To raise the carrier by 2.5 inches, install the side plates with extra height of the side plates facing downward. Position the square tubes between the side plates and align them using the first set of holes.
Option B - Raise by 5"
For a full 5-inch raise, keep the side plates oriented the same way, but insert the tubes further in and use the second set of holes. This provides maximum lift.
Option C - Lower by 2.5"
To lower the carrier by 2.5 inches, flip the side plates so the extra height is facing upward. Then, insert the square tubes and align them with the first set of holes.
Option D - Lower by 5"
For the maximum drop of 5 inches, keep the side plates in the same flipped position, and insert the tubes to align with the second set of holes.
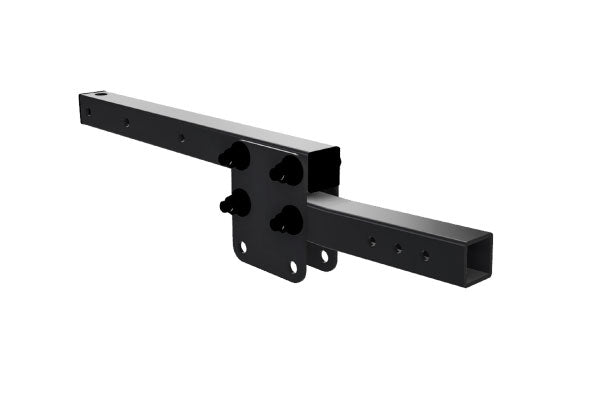
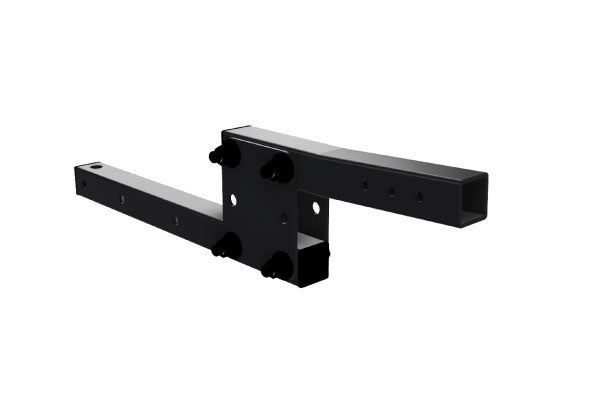
Step 3 – Attach the Receiver Tube
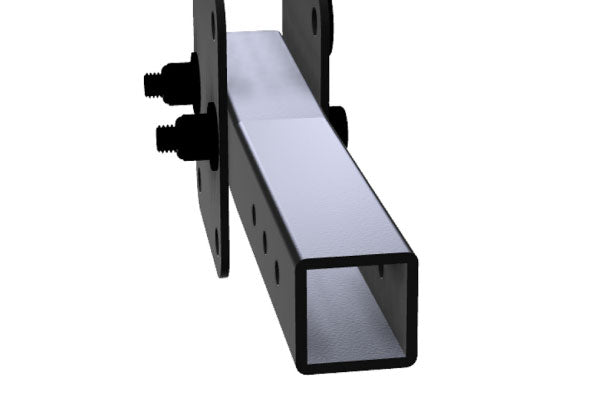
Once you’ve chosen your height setting, align the holes of the receiver tube with the corresponding holes in the side plates. Insert a bolt through both sides, then place a washer on each end — one under the bolt head and one under the nut. Tighten everything securely using a wrench or socket on both sides.
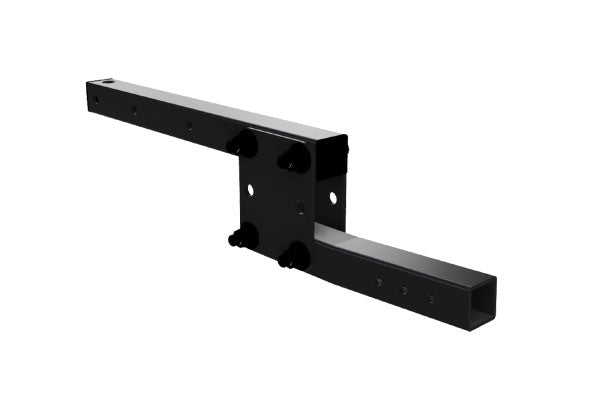
Step 4 – Attach the Platform Tube
Now, repeat the same process to attach the platform tube. Line it up with the side plates, insert the bolts through the selected holes, and add a washer to each side. Secure the bolts tightly by tightening the nut and bolt from both sides.
Step 5 - Mount the Platform
If you are installing the Height Adjust Connection on a previously assembled MotoTote, you can simply attach it to your existing MTX platform and parts. If you are installing this with a new MotoTote, please proceed to Step 1D for your carrier. To continue, select your carrier instructions by hitting Done at the top of these instructions.