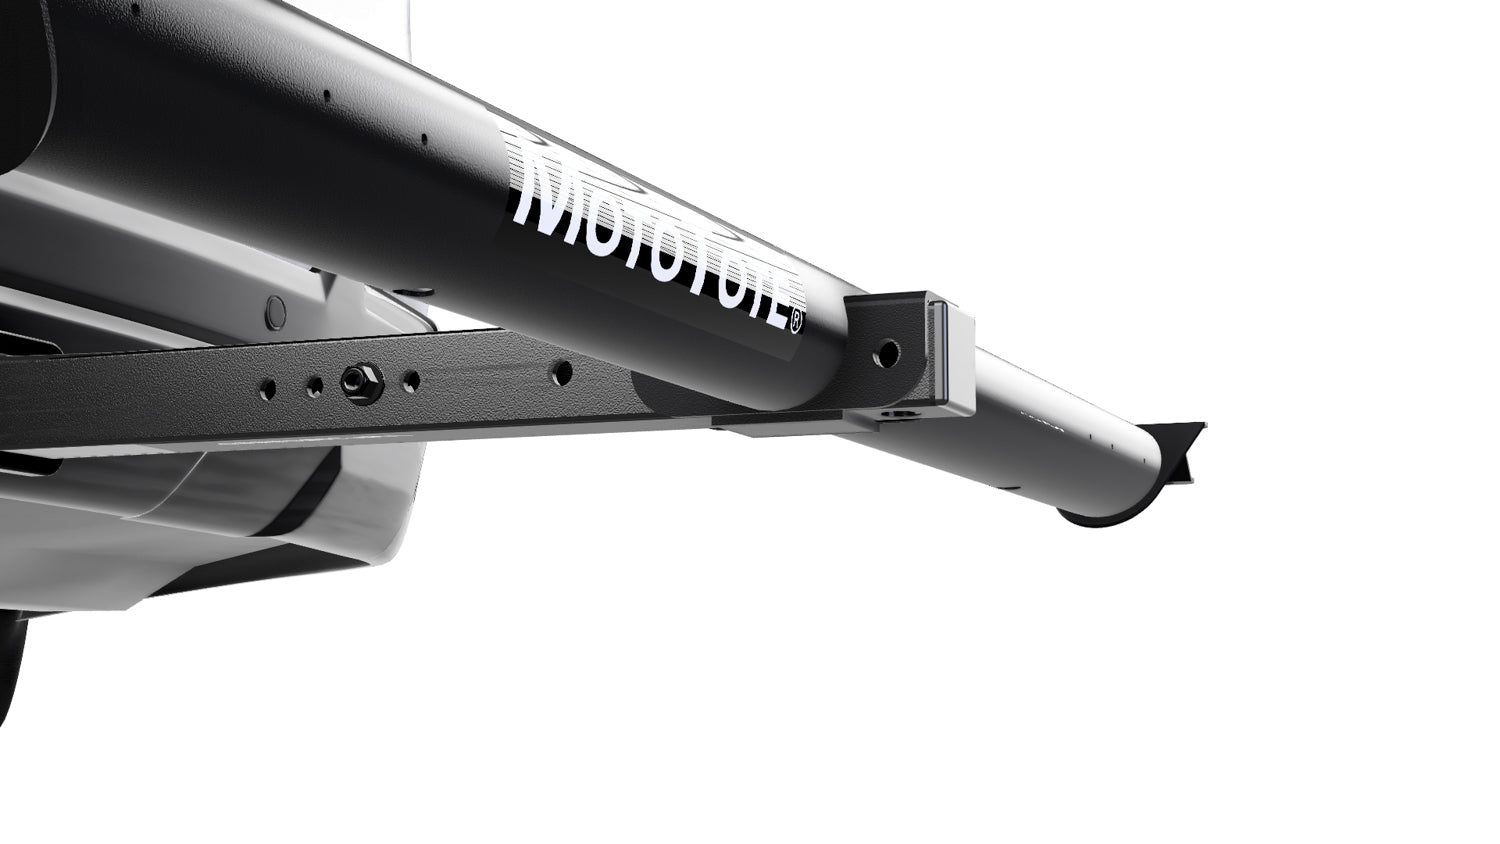
(A.) Align the MTX Platform and Receiver Tube
Insert the MTX Platform square tube into the main receiver tube as outlined in your carrier assembly instructions. Align the bolt holes so they are centered and ready for hardware installation.
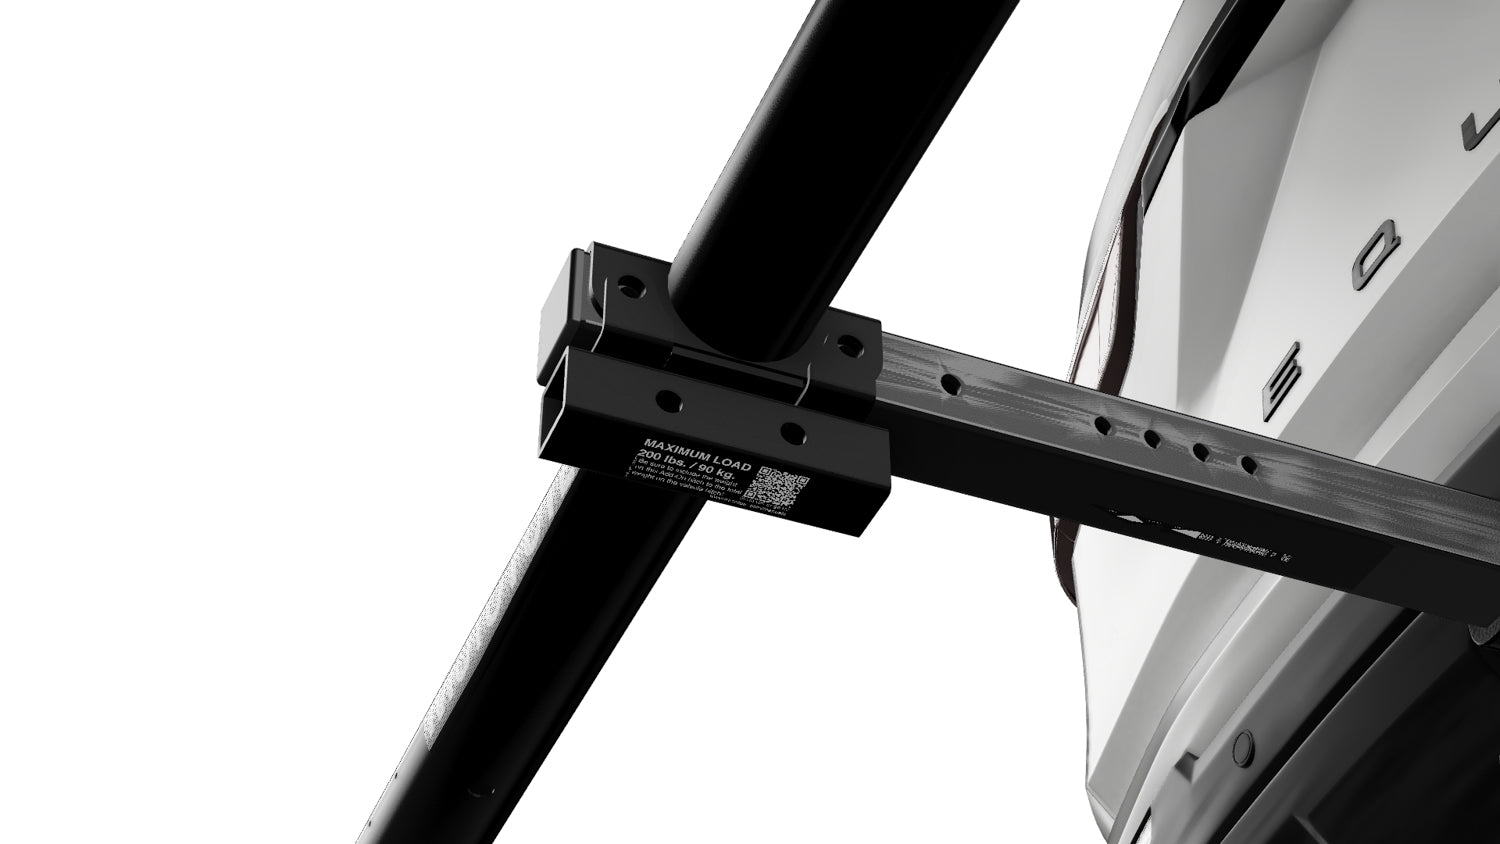
(B.) Position the Add-On Receiver (Replaces Washers)
Instead of installing the standard washers at this connection point, position the Add-On Receiver on the outside of the joint — in the same location where the washers would normally sit. The Add-On Receiver installs externally against the mounting surface, replacing the washer spacing at this connection. Ensure all holes remain aligned through the MTX Platform, receiver tube, and Add-On Receiver.
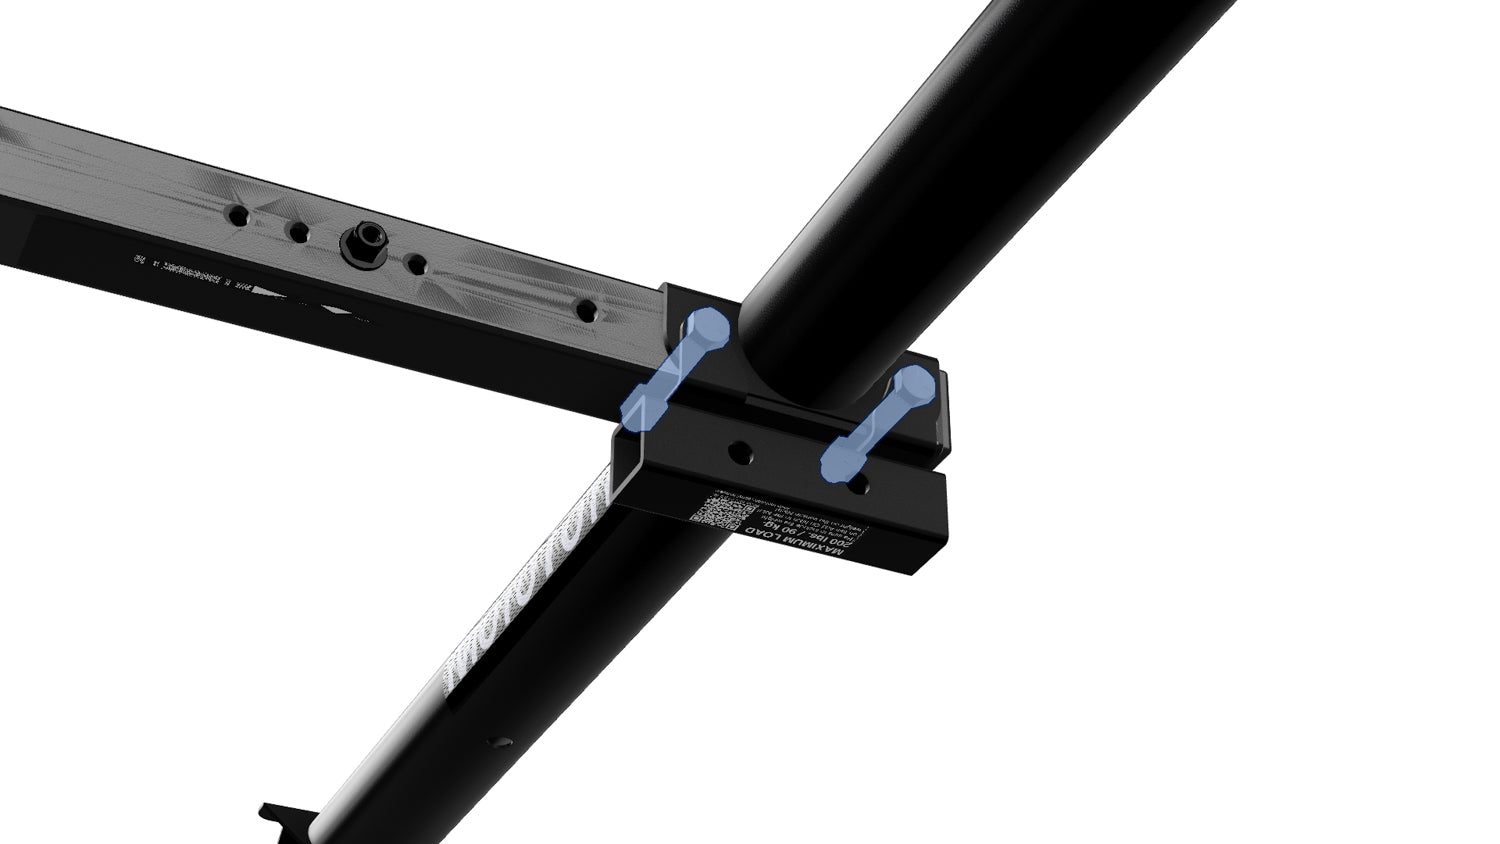
(C) Insert Bolts, Install Nuts & Tighten
Insert the bolts through the aligned holes, passing through the MTX Platform, receiver tube, and the Add-On Receiver. Thread the nuts onto the bolts and tighten evenly. Fully tighten all hardware to eliminate movement or wobble. Confirm that the MTX Platform and receiver tube are seated flush and that the Add-On Receiver is secure and properly aligned.