(A.) Locate the Ramp Hardware Kit
Open the bag containing the ramp hardware kit and remove the Step 1 bag with the Tie Down Arm Retainer parts. Locate the hole on the front tie-down arm to prepare for installation.
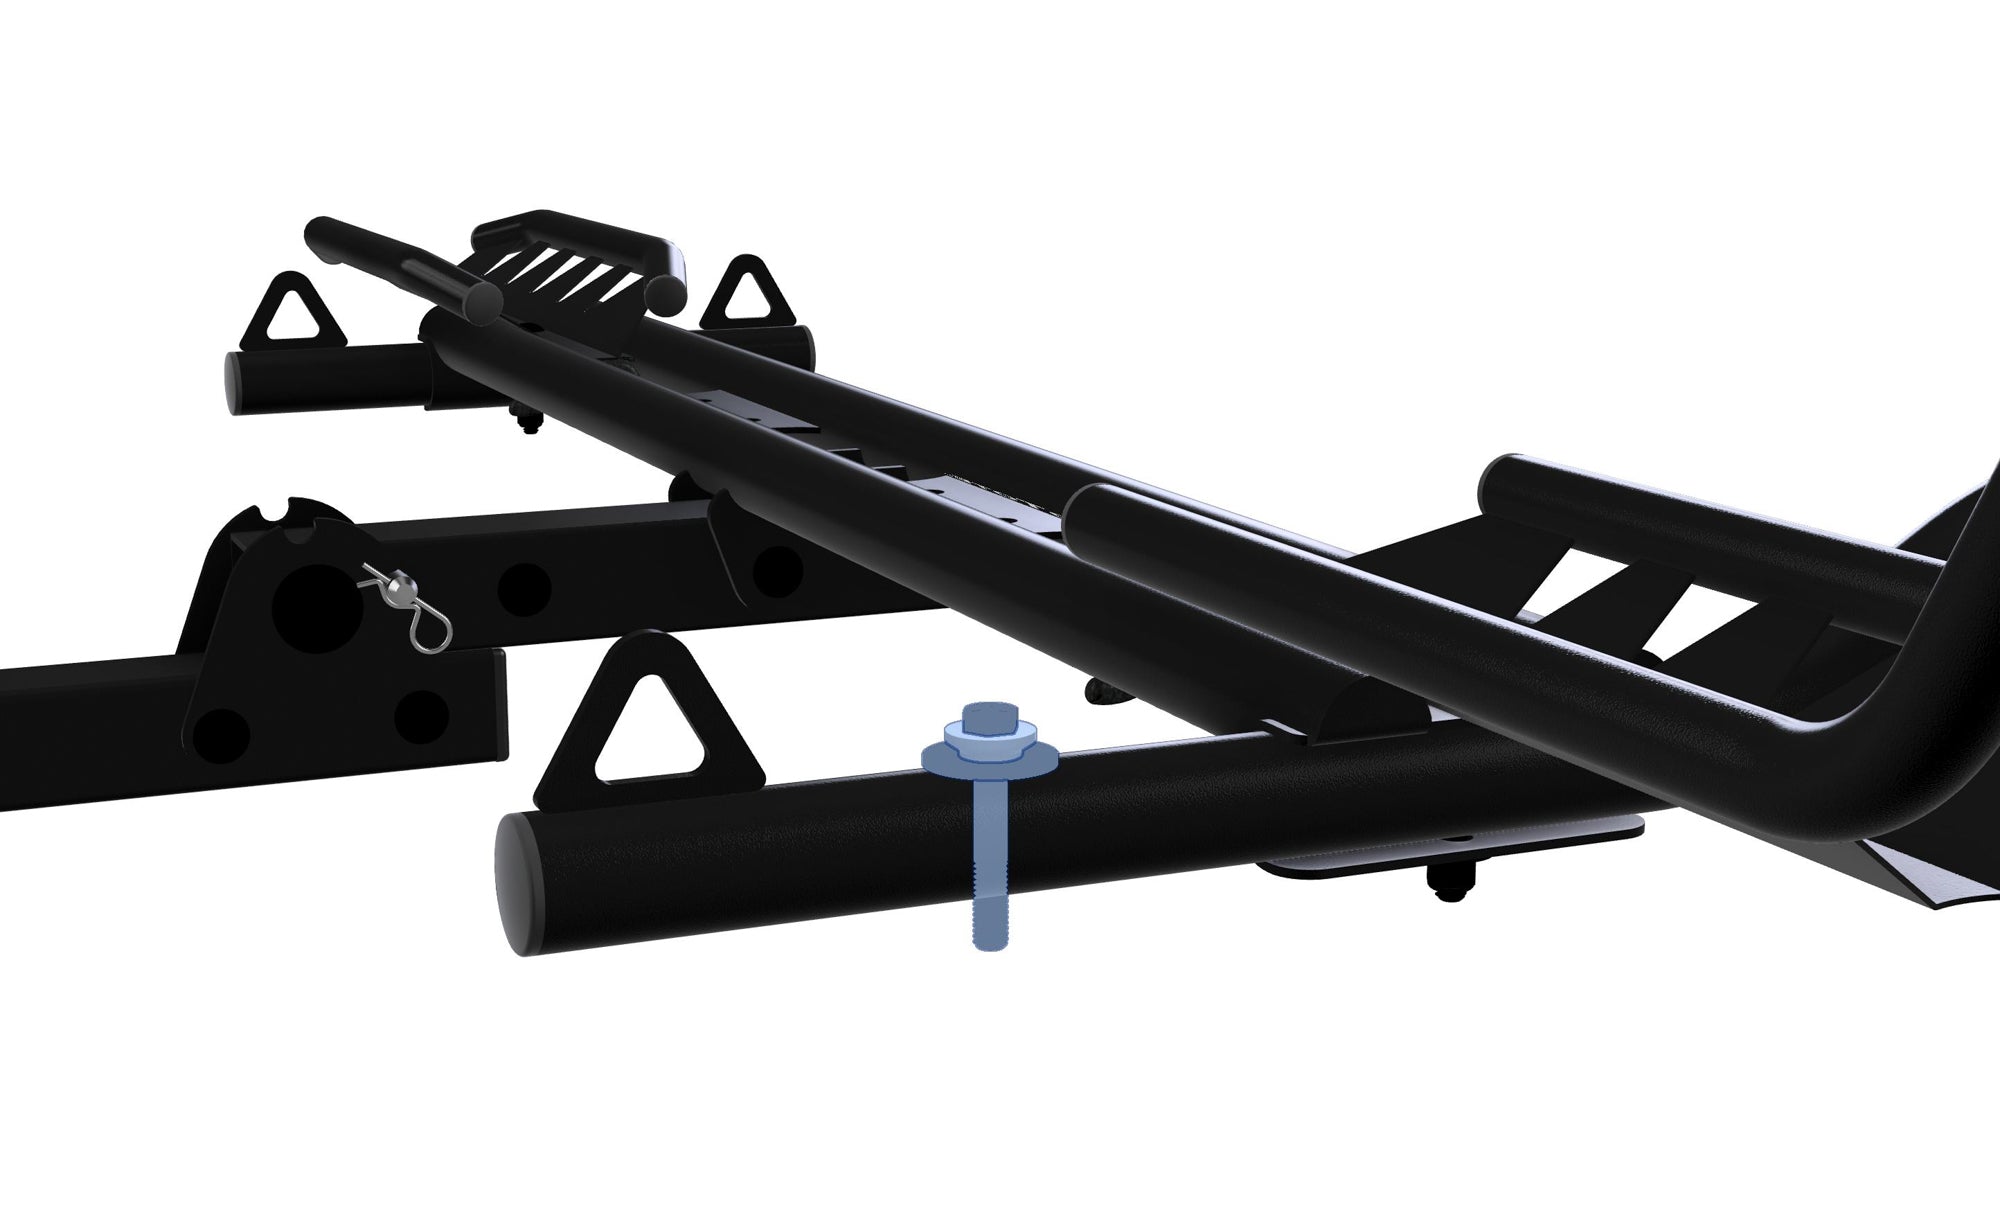
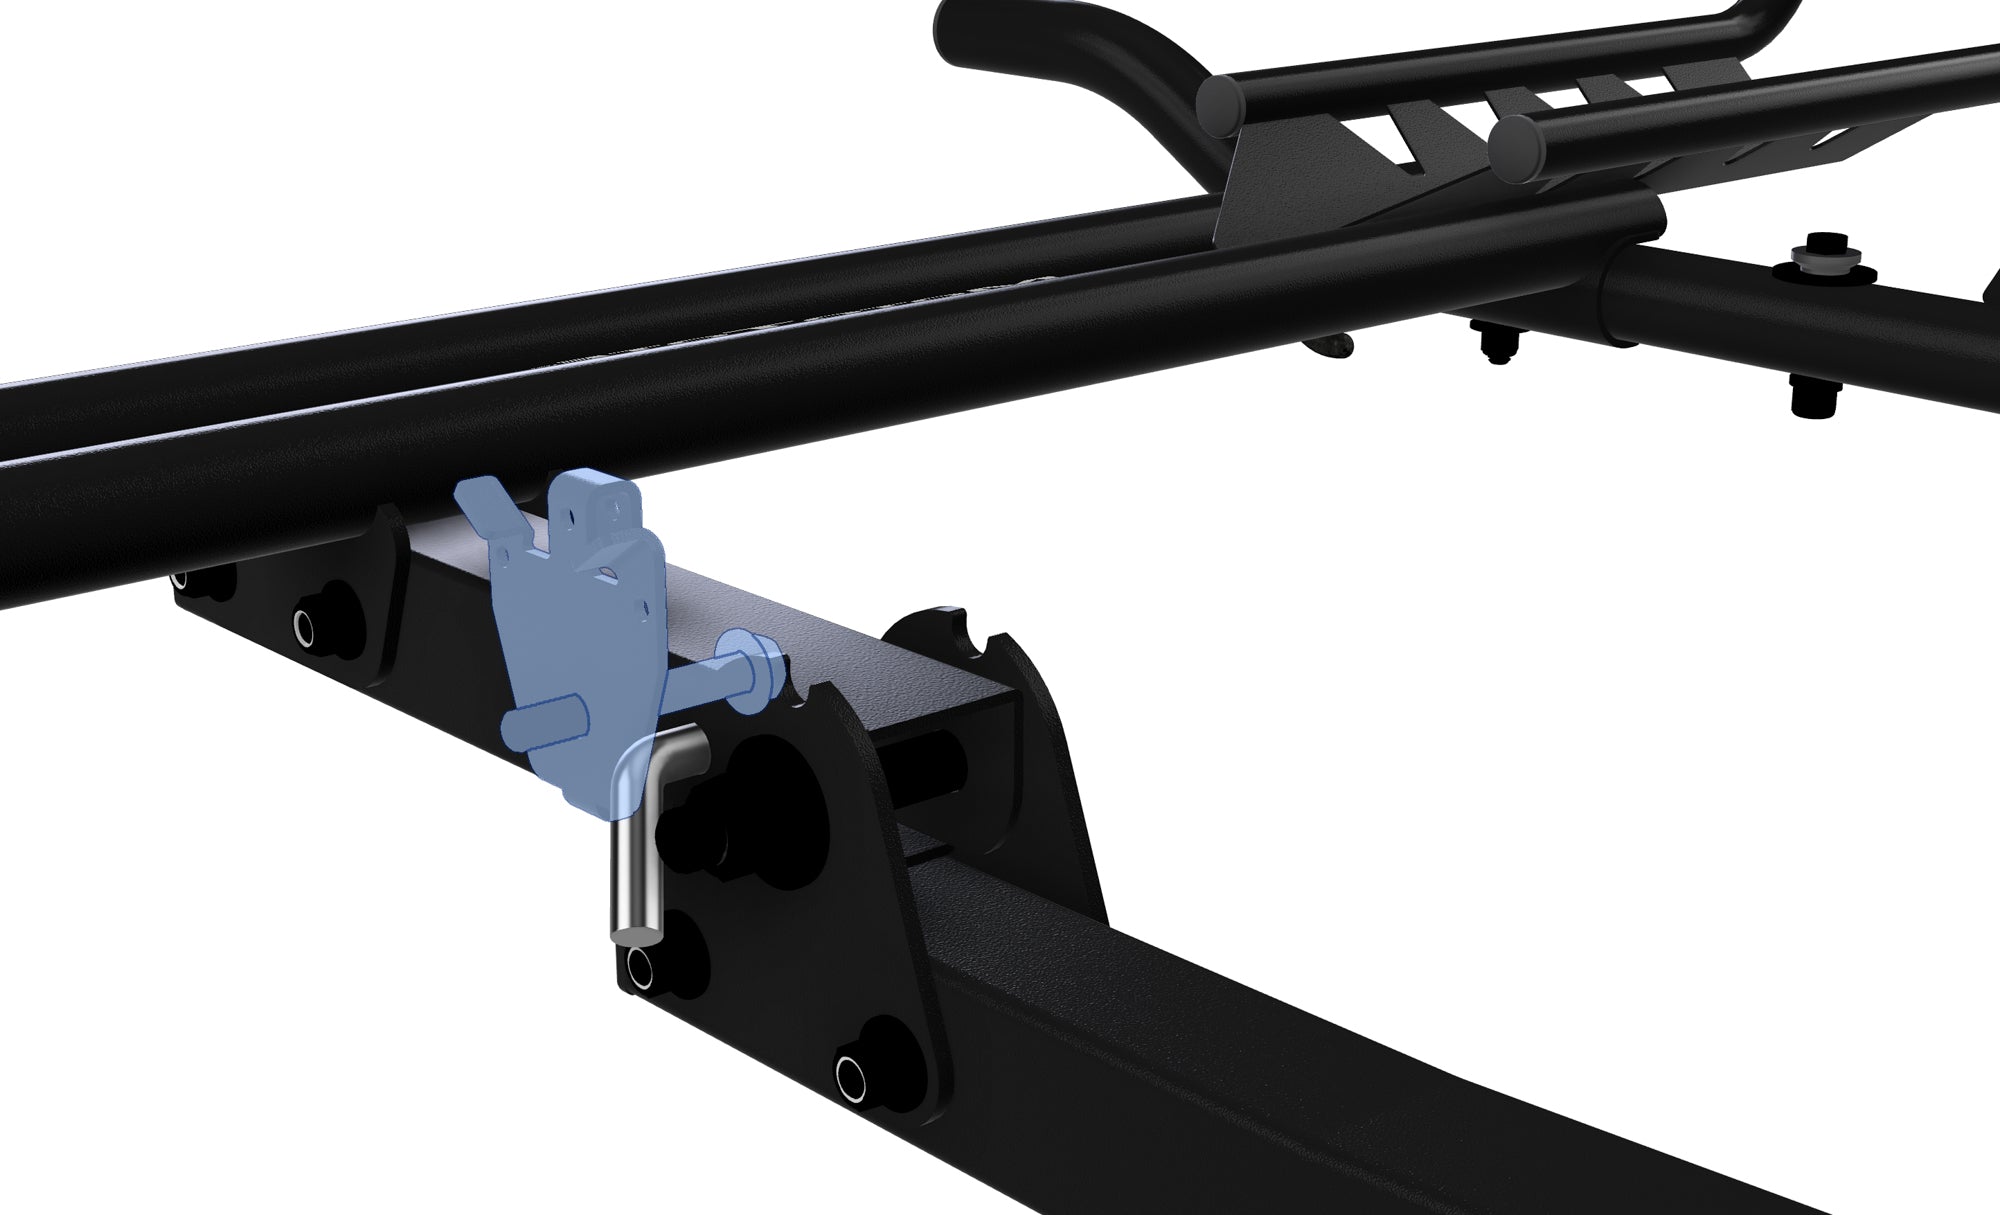
(B.) Attach the Tie Down Arm Retainer
Slide the stainless steel retainer and cushioning washer onto the Step 1 bolt and insert it into the hole on the front tie down arm. Position it in the orientation shown in the image.
(C.) Secure the Tie Down Arm Retainer Bolt
Put the lock washer and nut onto the bottom of the bolt, then tighten them securely with a wrench to hold in place.
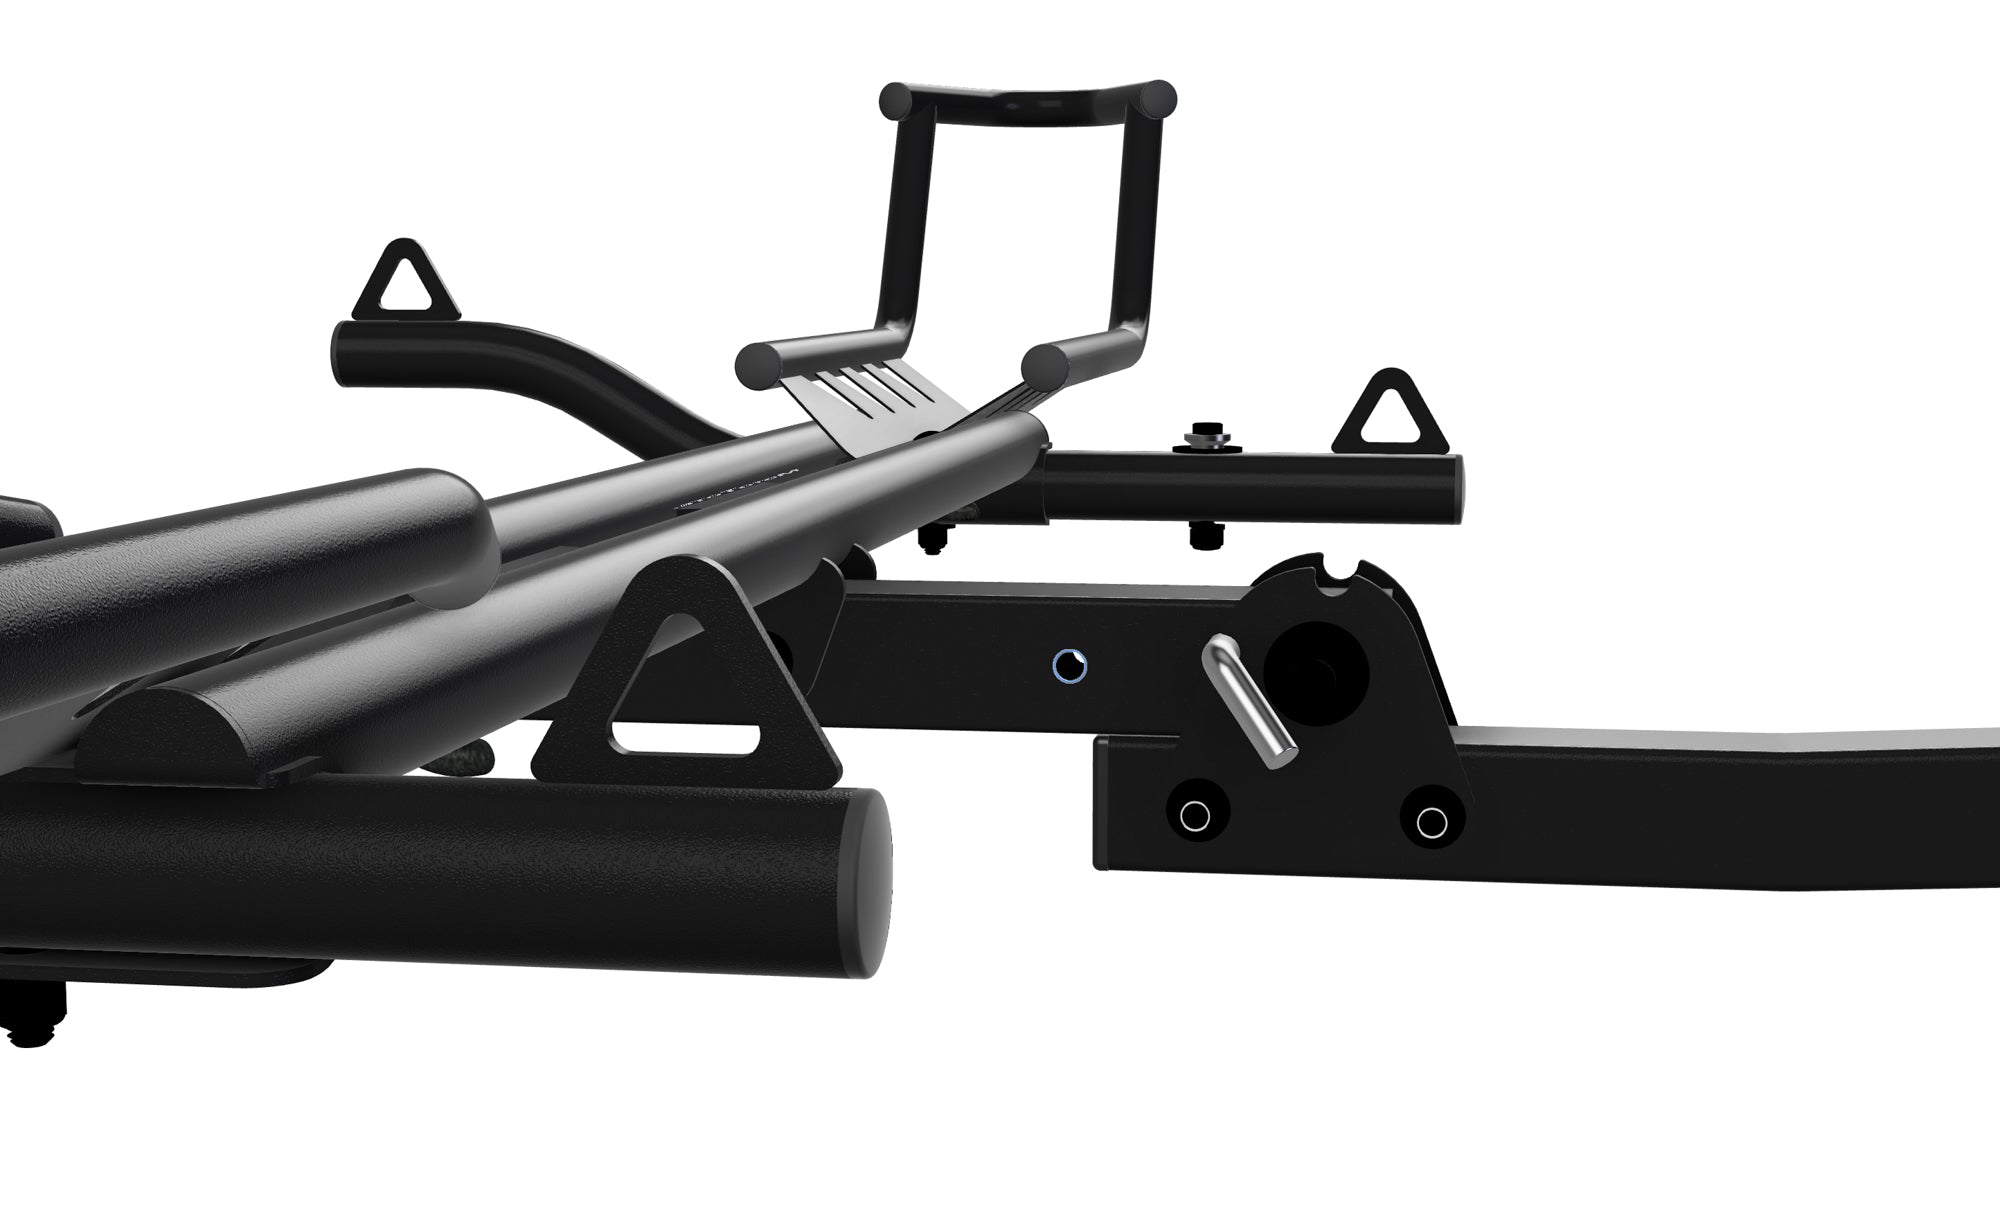
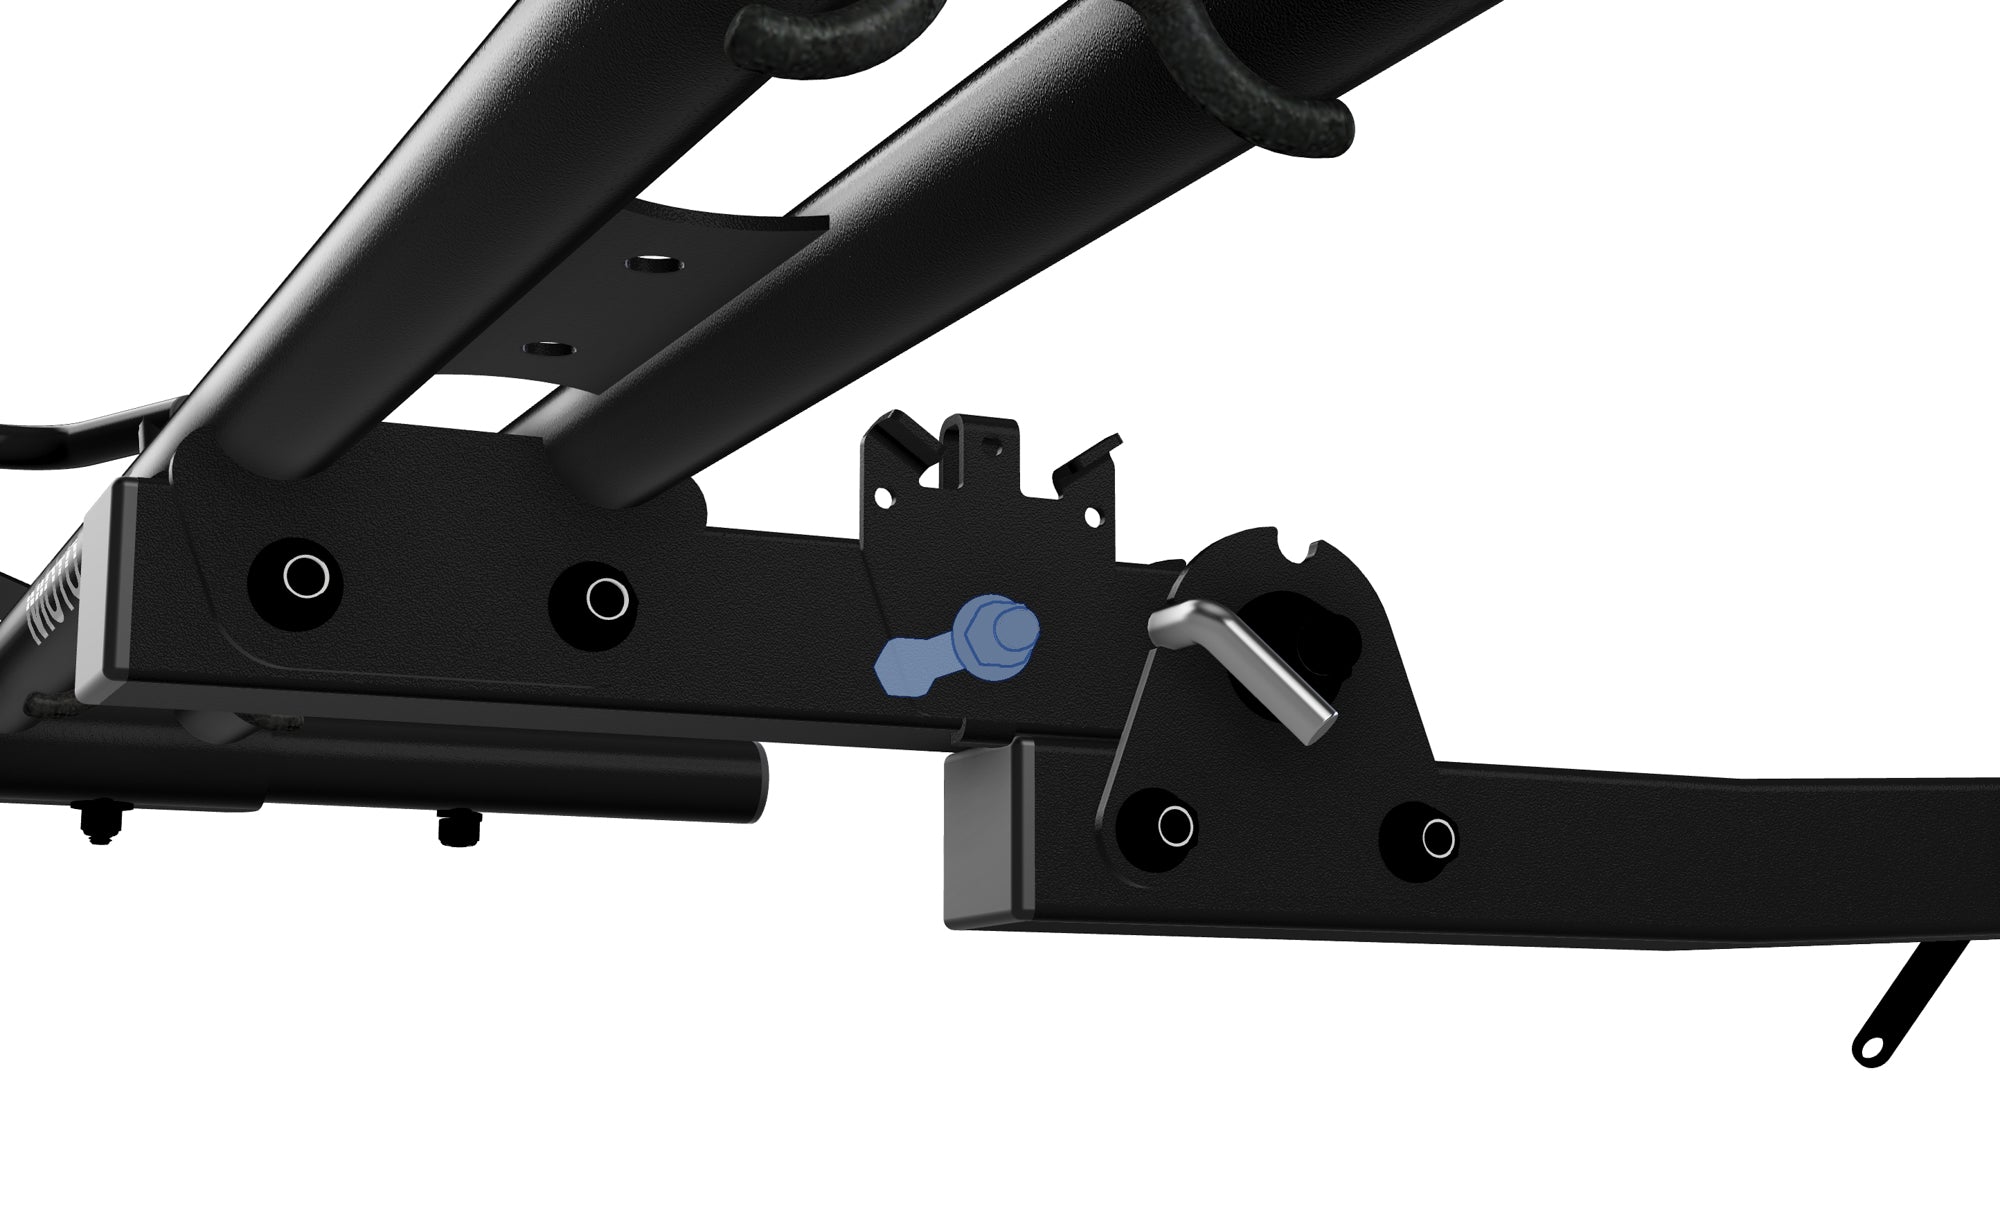
(D.) Determine the Location of the Ramp Keeper Tab
Decide where to attach the Ramp Keeper Tab depending on whether you have a single or dual configuration. For the single, attach at the hole in square tube nearest the hinge. For the dual, attach to the square tube between the tracks. Refer to the photo for guidance.
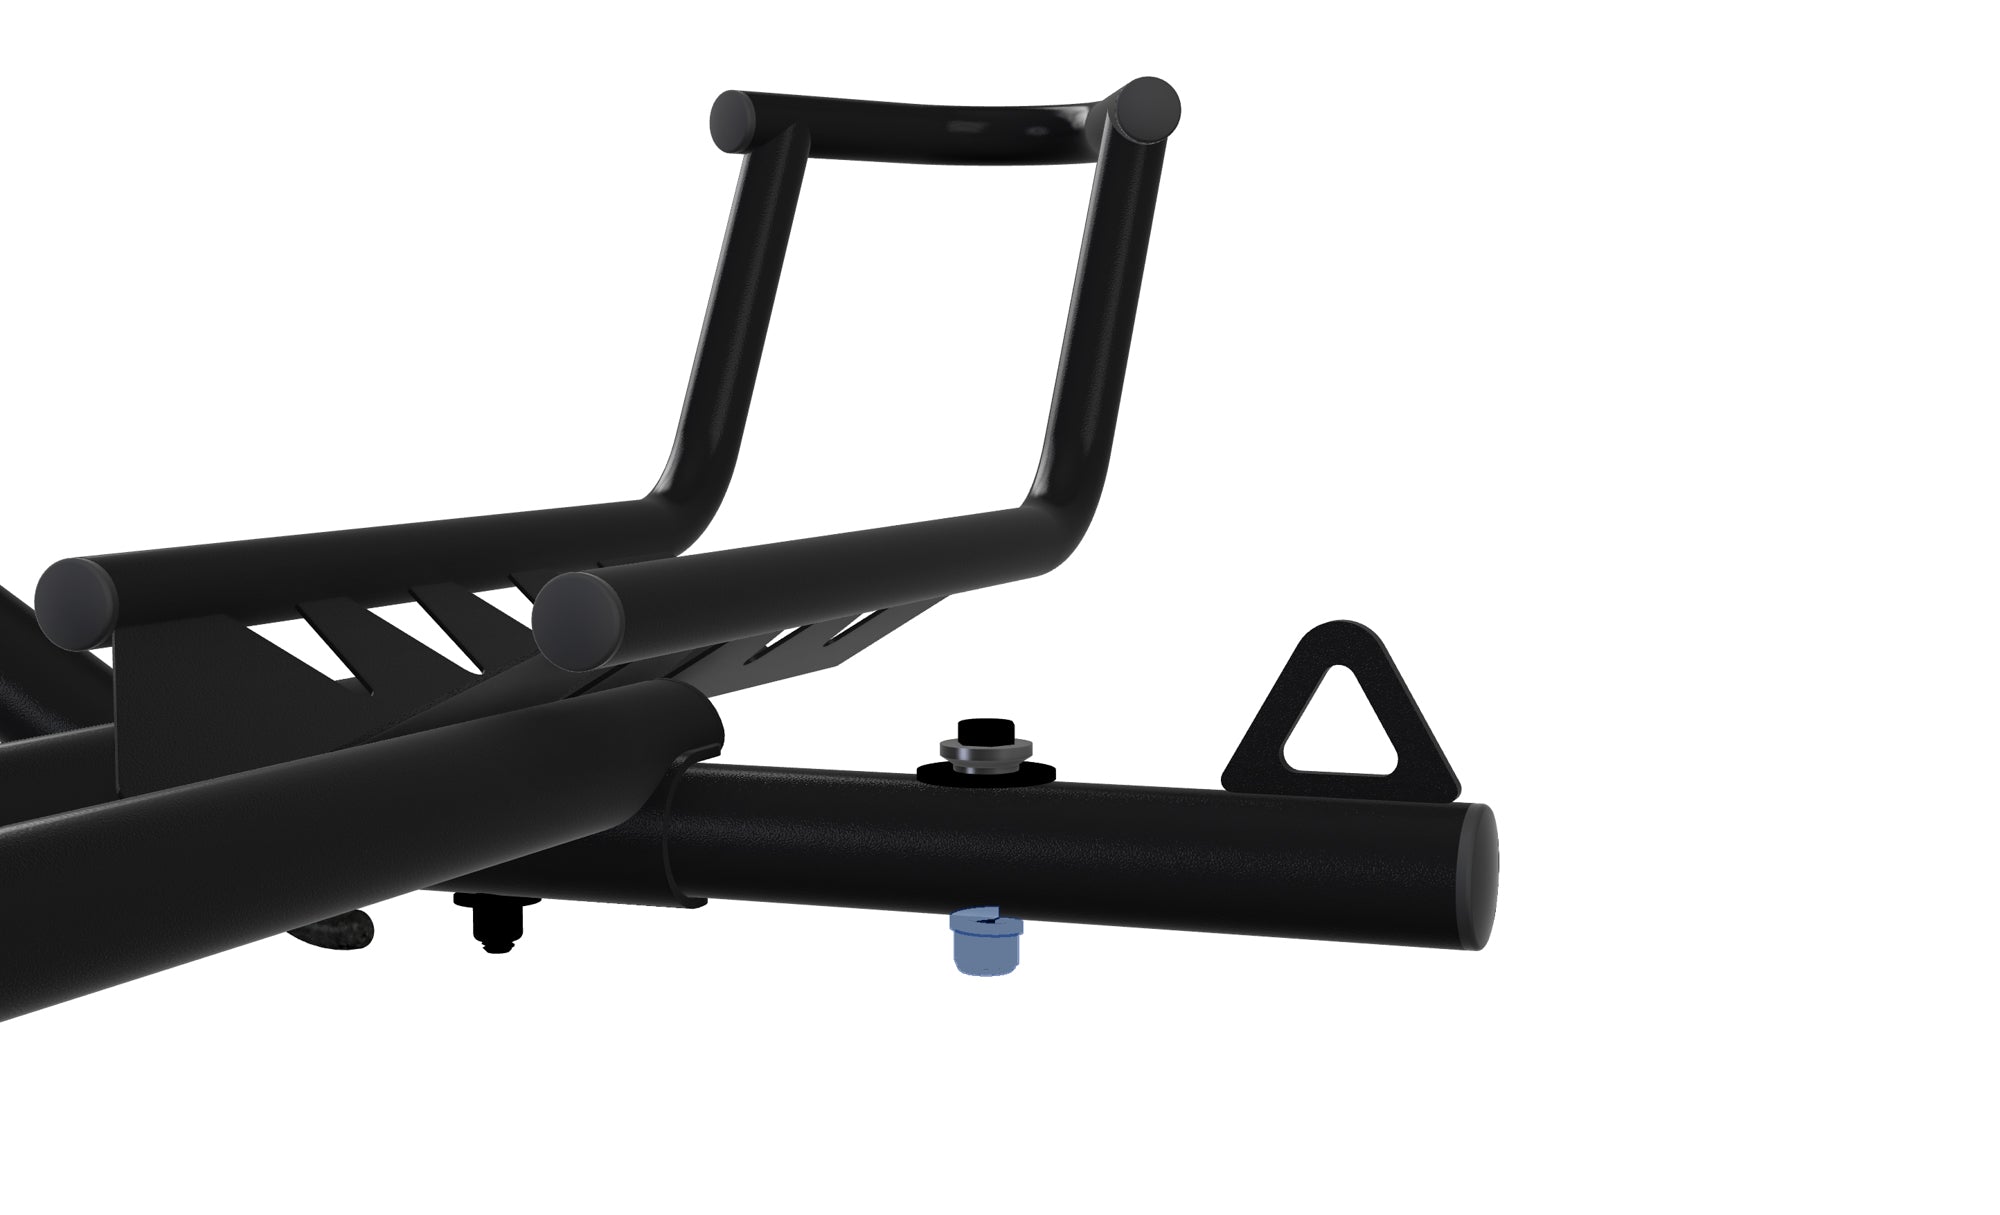
(E.) Attach the Ramp Keeper Tab
Locate the Ramp Keeper Tab in the Step 2 bag and align it to the Tie Down Arm Retainer on the opposite side of the square tube from the Retainer. Insert the bolt and washer to hold it in position.
(F.) Tighten the Ramp Keeper Tab
Add a washer and nut to the bolt securing the Ramp Keeper Tab and tighten everything to firmly.
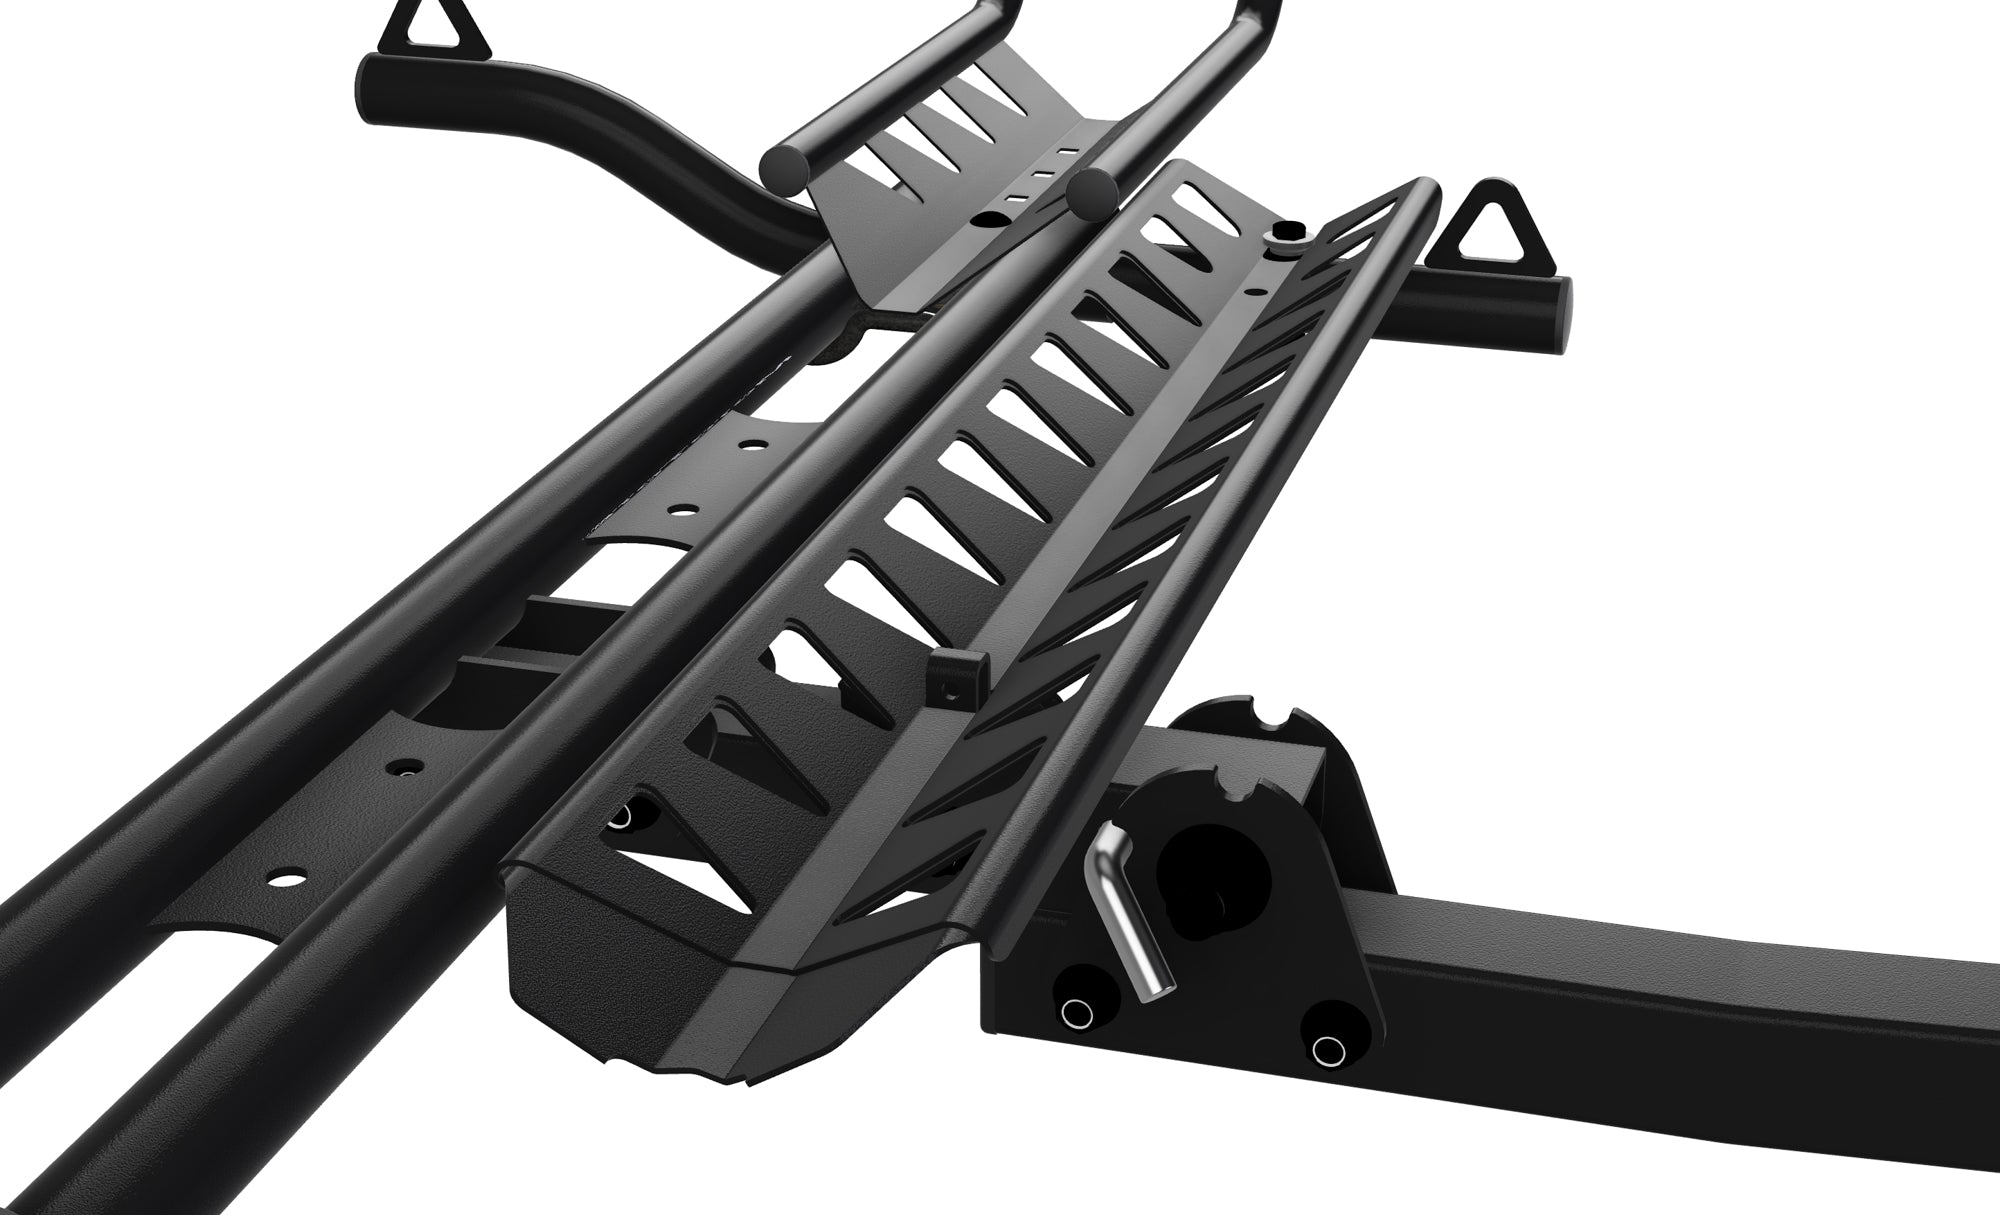
(G.) Store the Ramp
Grab the folded ramp with the notch open and slide it into the Tie Down Arm Retainer bolt until the square hole in the ramp aligns with the Ramp Keeper Tab.
(H.) Adjust the Ramp Keeper Tab (if needed)
If the ramp does not align with the Keeper Tab, loosen the bolt on the ramp tab, reorient it so it lines up with the hole in the ramp, and tighten the bolt once it is correctly positioned.
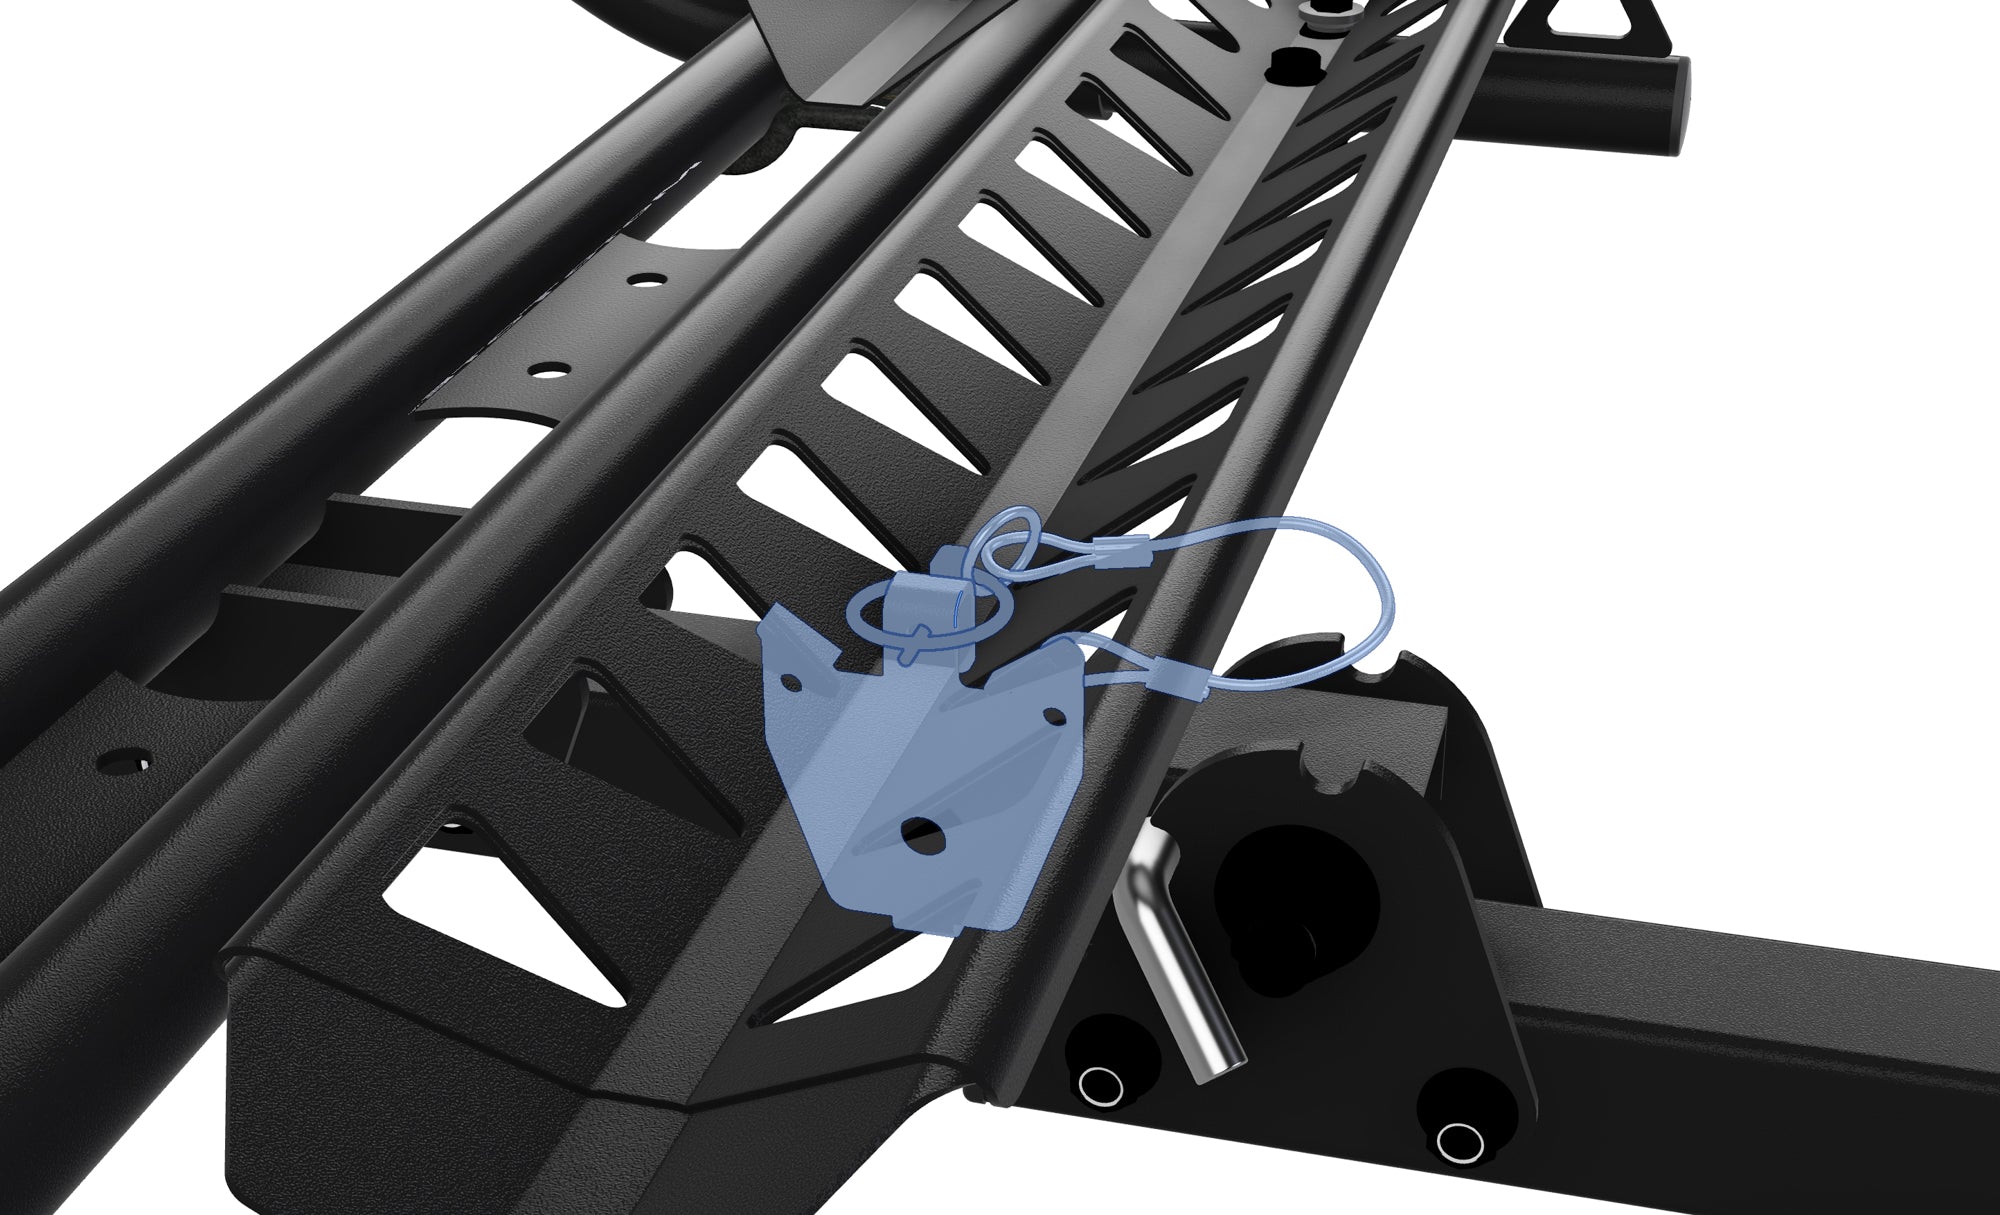
(I.) Finalize the Installation
Insert the linchpin through the Ramp Keeper Tab hole and secure it by folding down the snap ring.