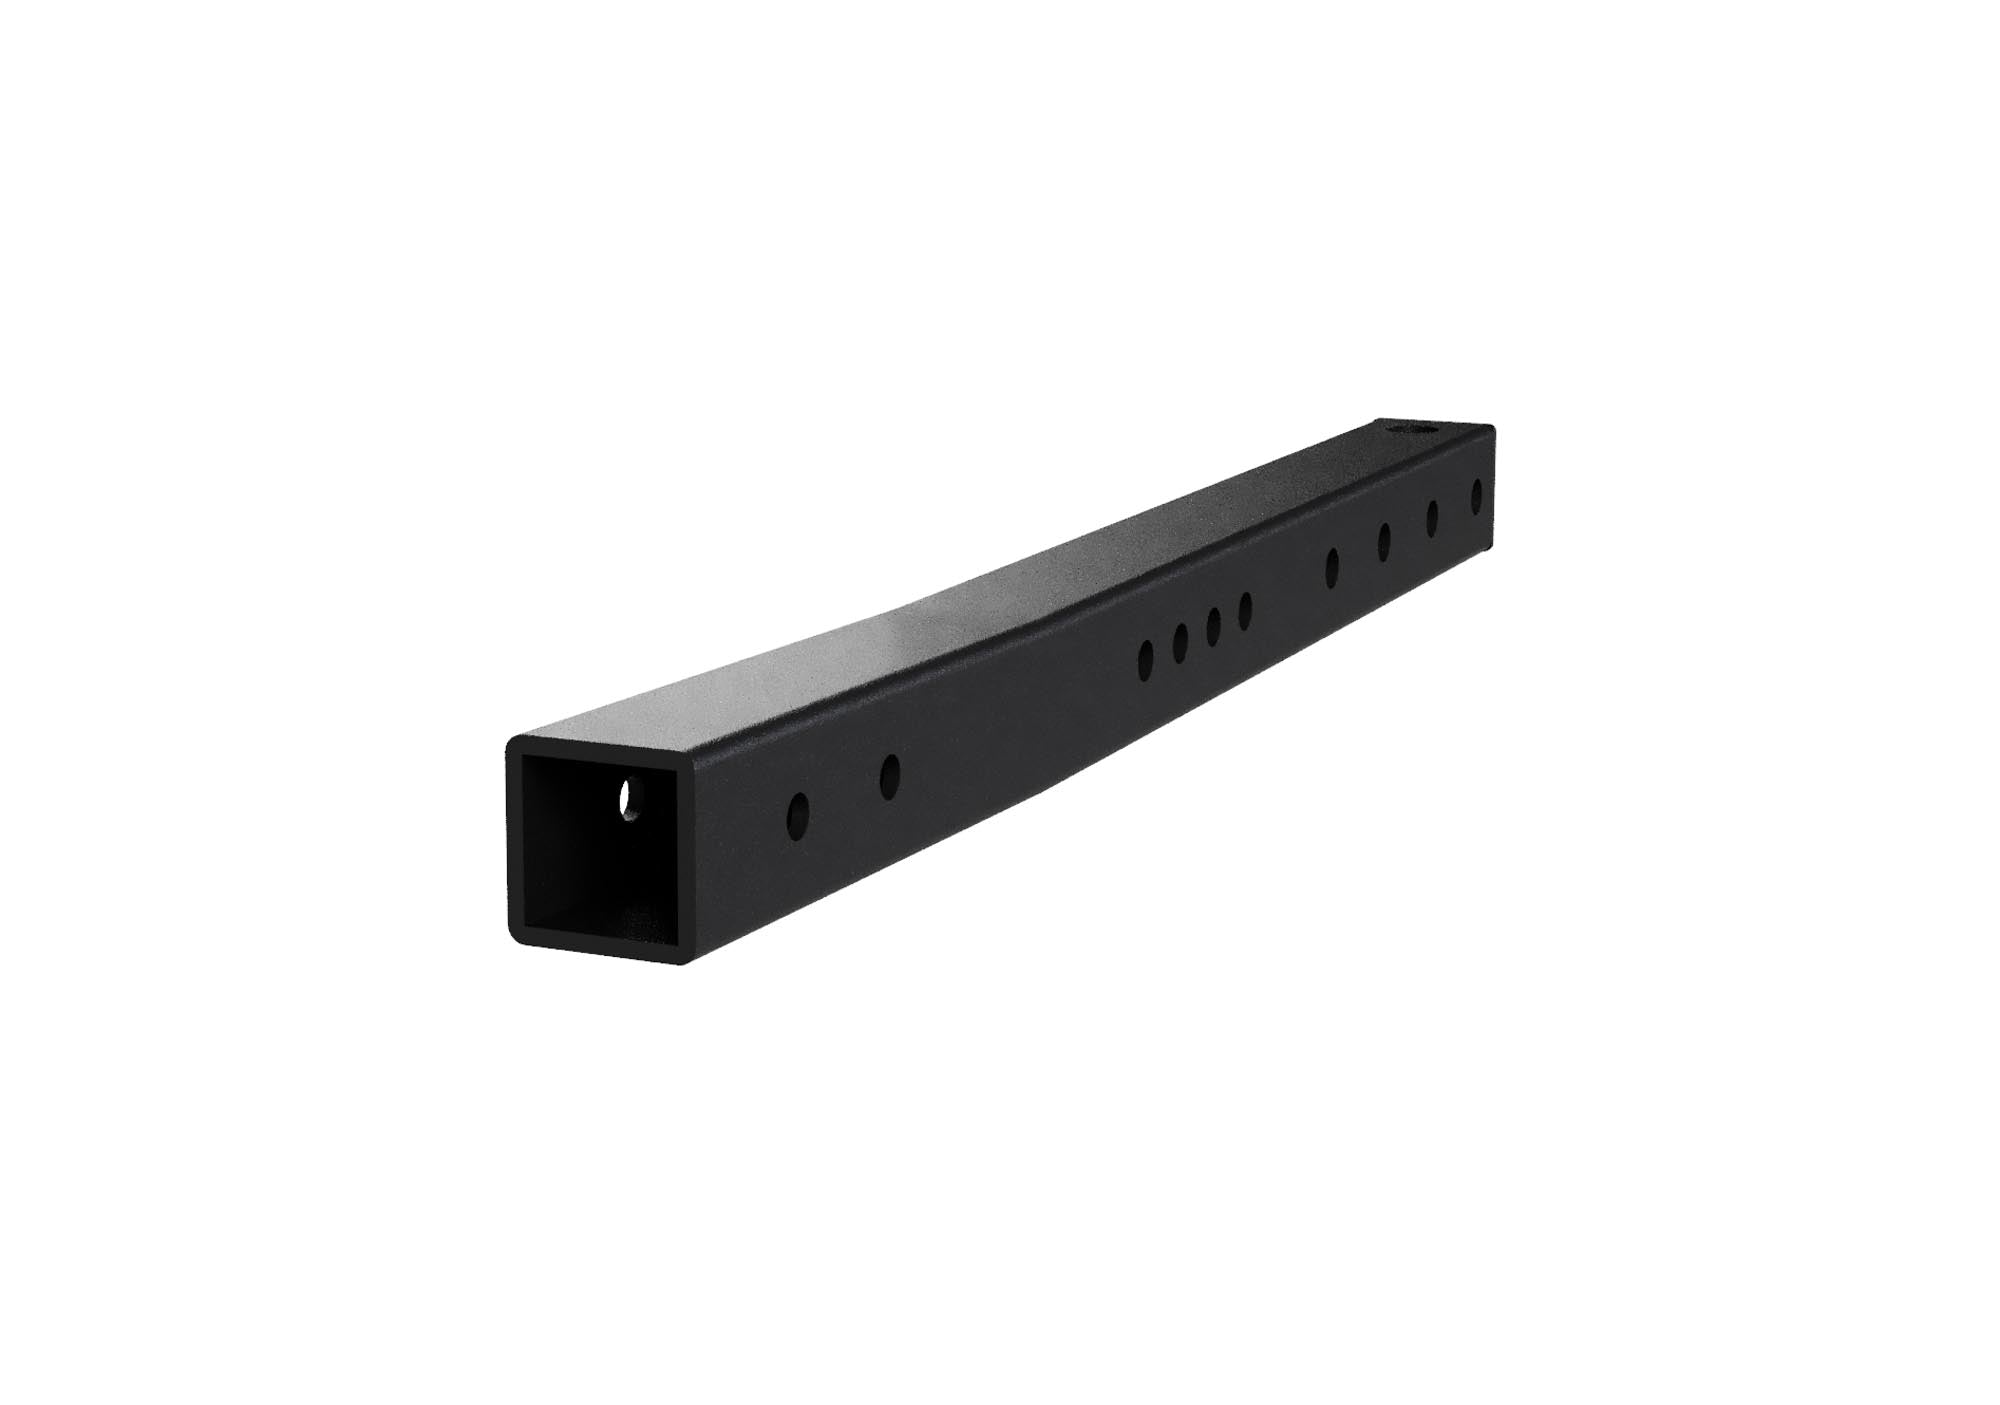
(A.) Prepare Receiver Tube
The square tube of the Max, Max+, Sport, and m3 carriers is designed with a slight upward bend to offset "hitch droop." The crease on the top of the tube is not a defect. For the next step, be sure to position the tube with the label on top and the bend angling upward when you insert it.
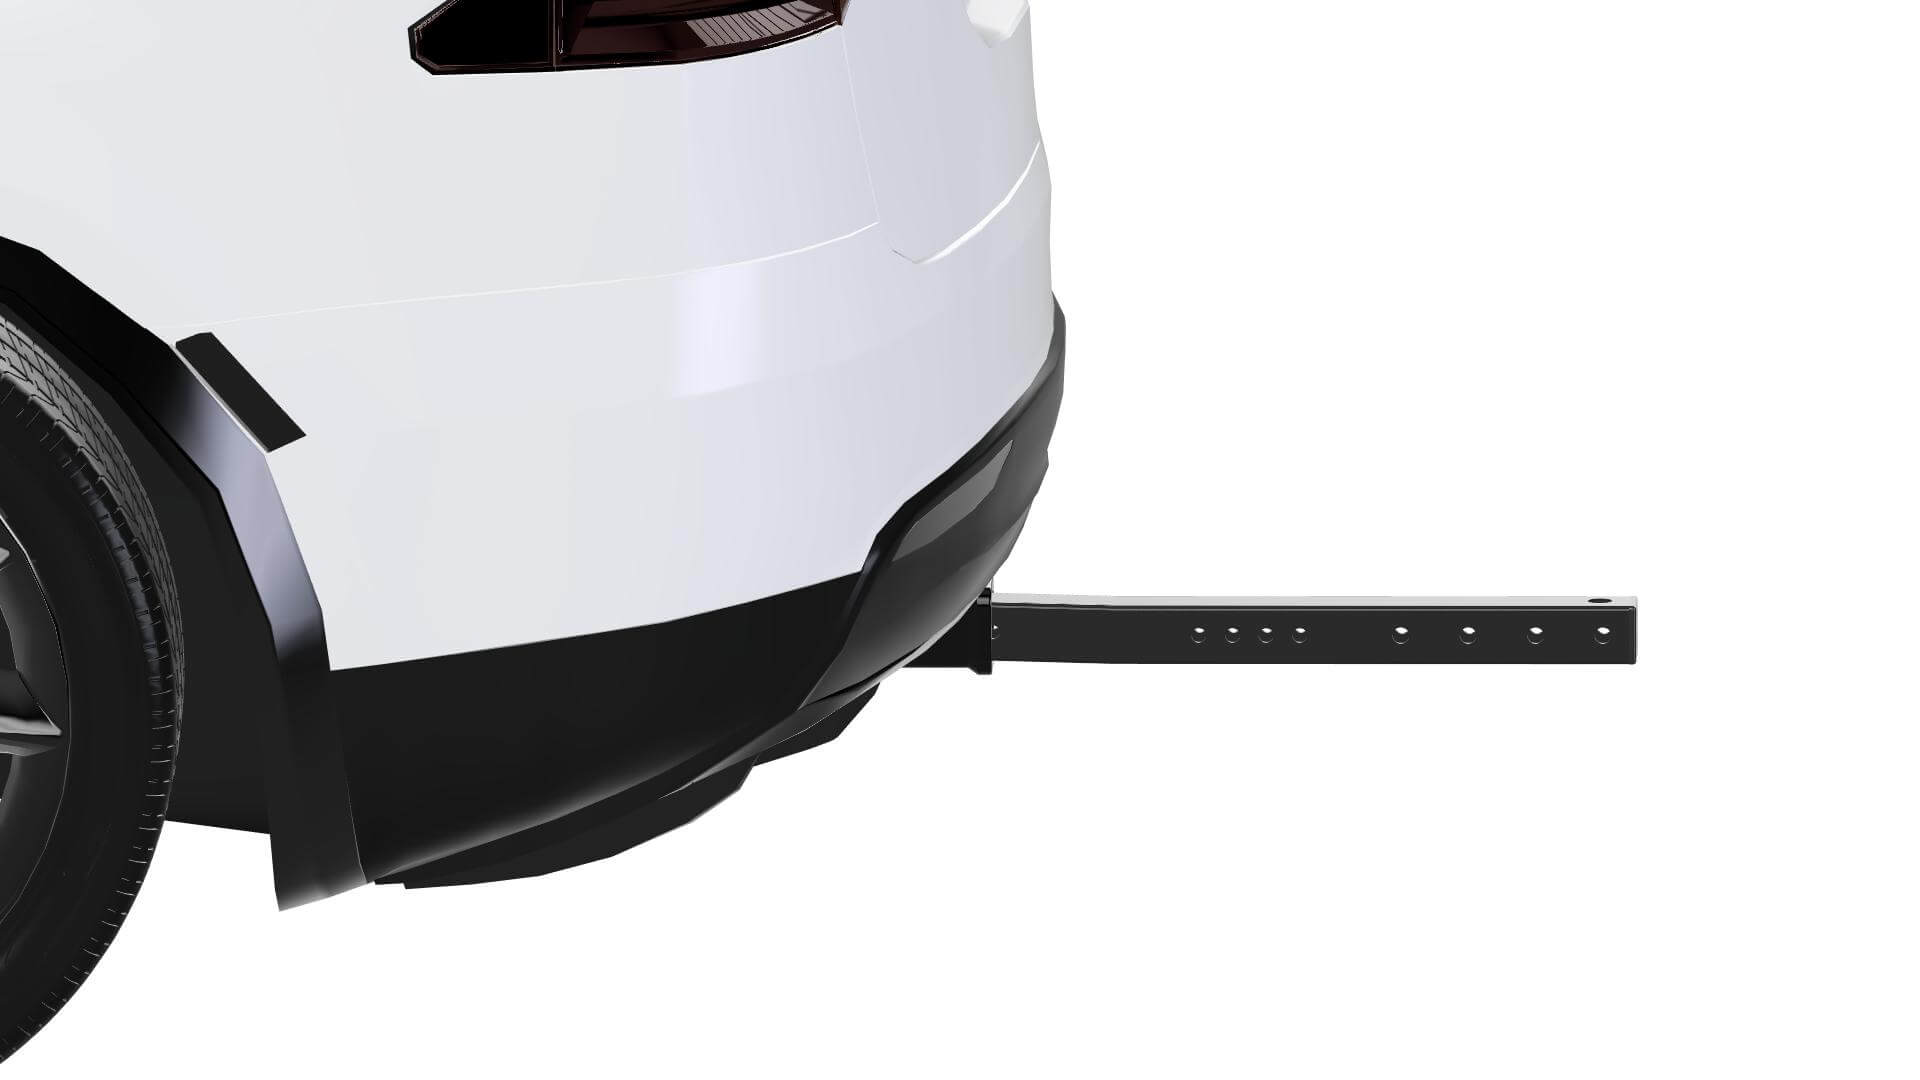
(B.) Insert Receiver Tube to Trailer Hitch
Insert the square tube several inches into the hitch. This will make things easier by getting the carrier off the ground at a more comfortable height for assembly.
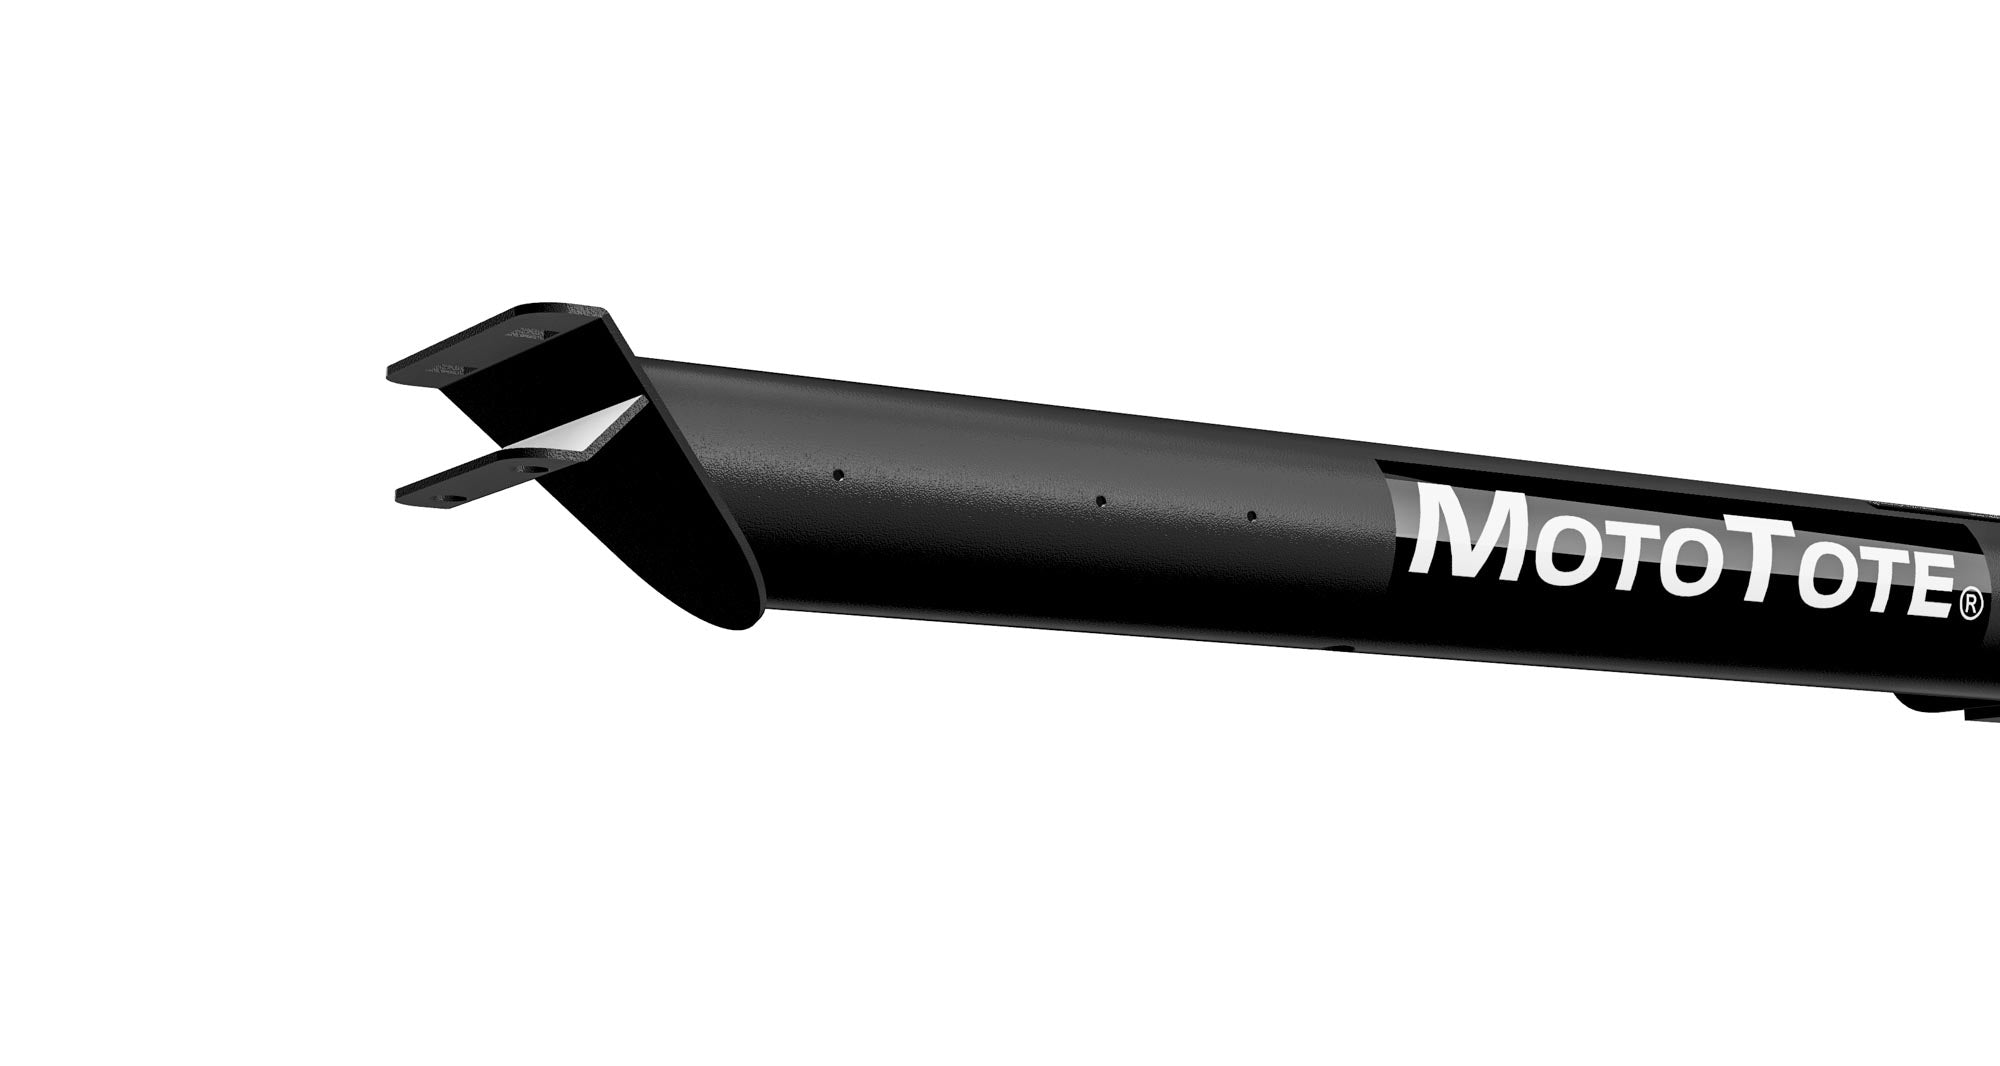
(C.) Prepare MTX Platform
Inspect the MTX platform and note that one side has predrilled holes. These are for the optional light kit. If you intend to install one, ensure these holes are facing outward while installing.
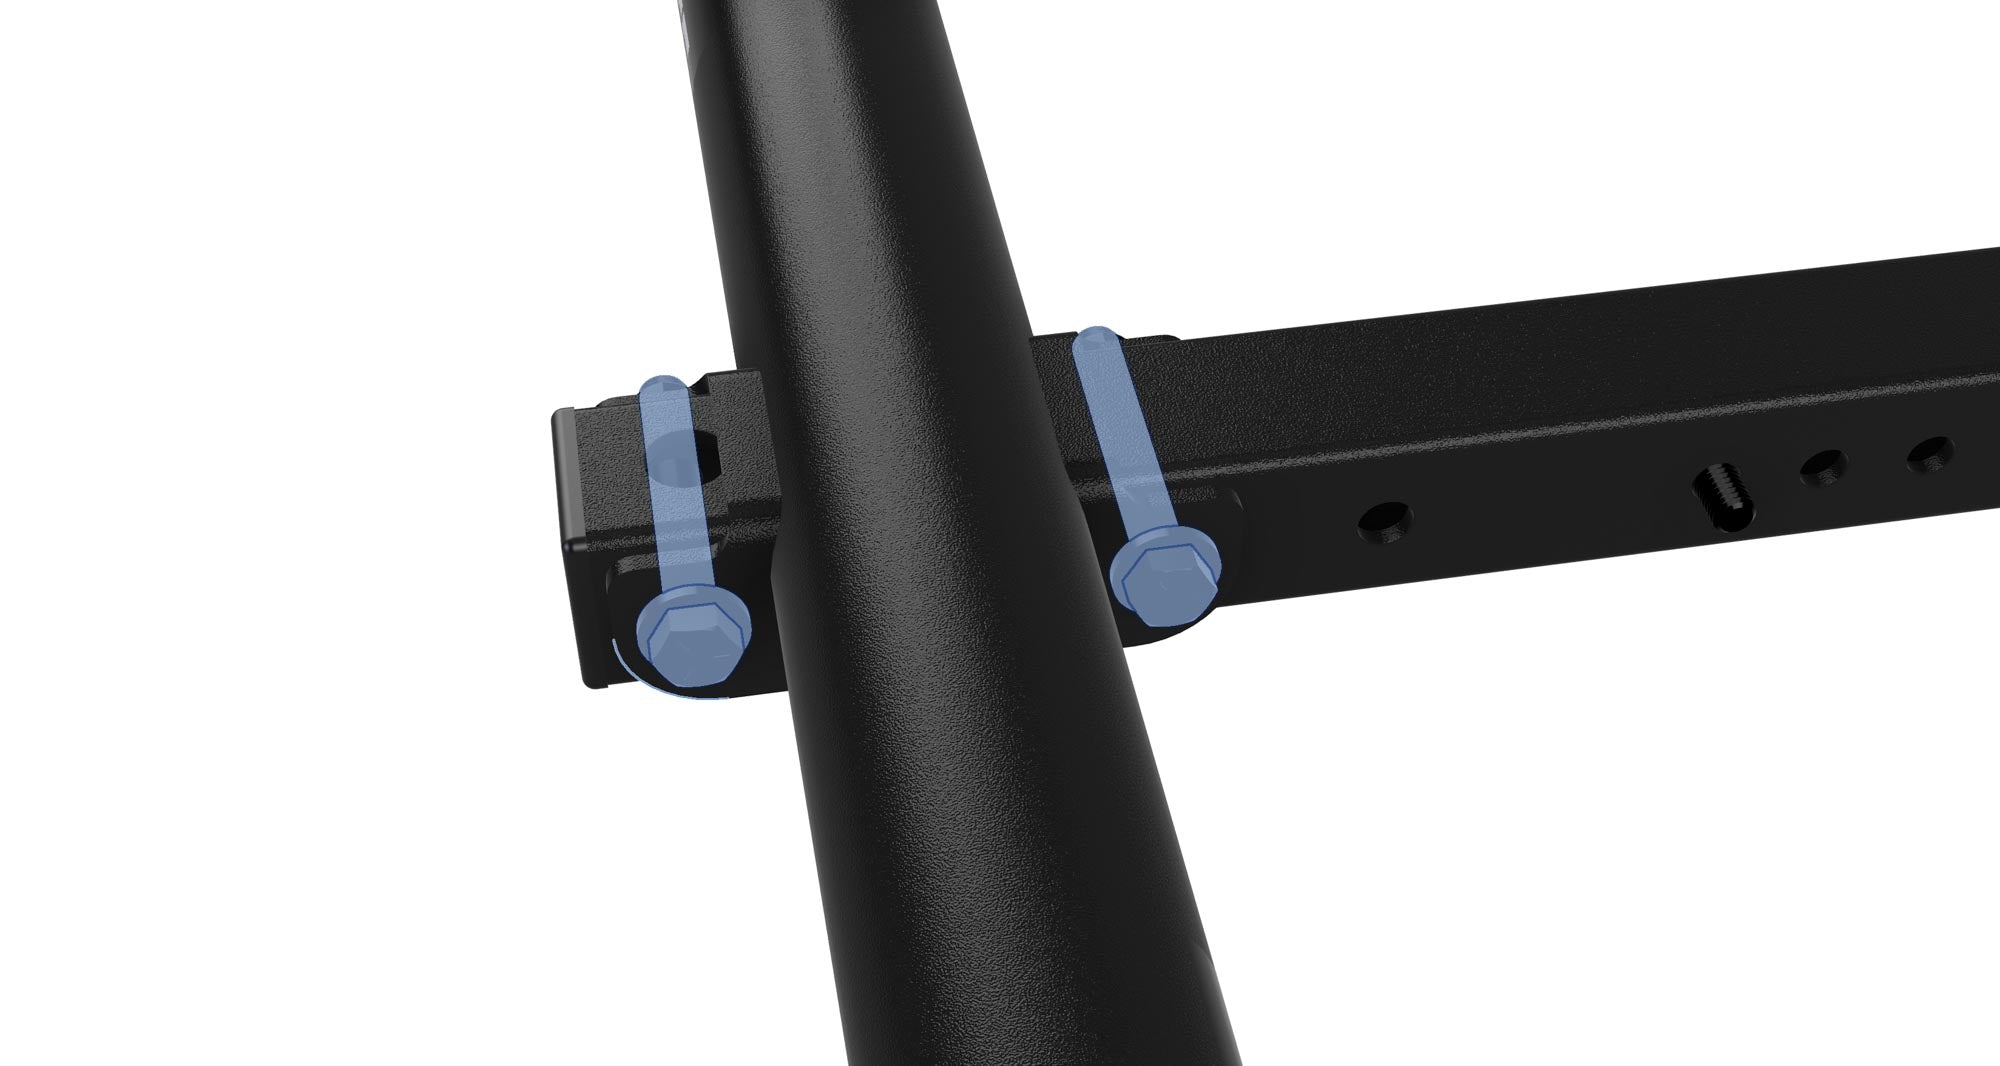
(D.) Align MTX Platform & Thread Hardware to Receiver Tube
Slide the MTX platform onto the square tube aligning the holes. Find the two big hex head bolts, and two washers. Slide a washer on each bolt and guide through the platform.
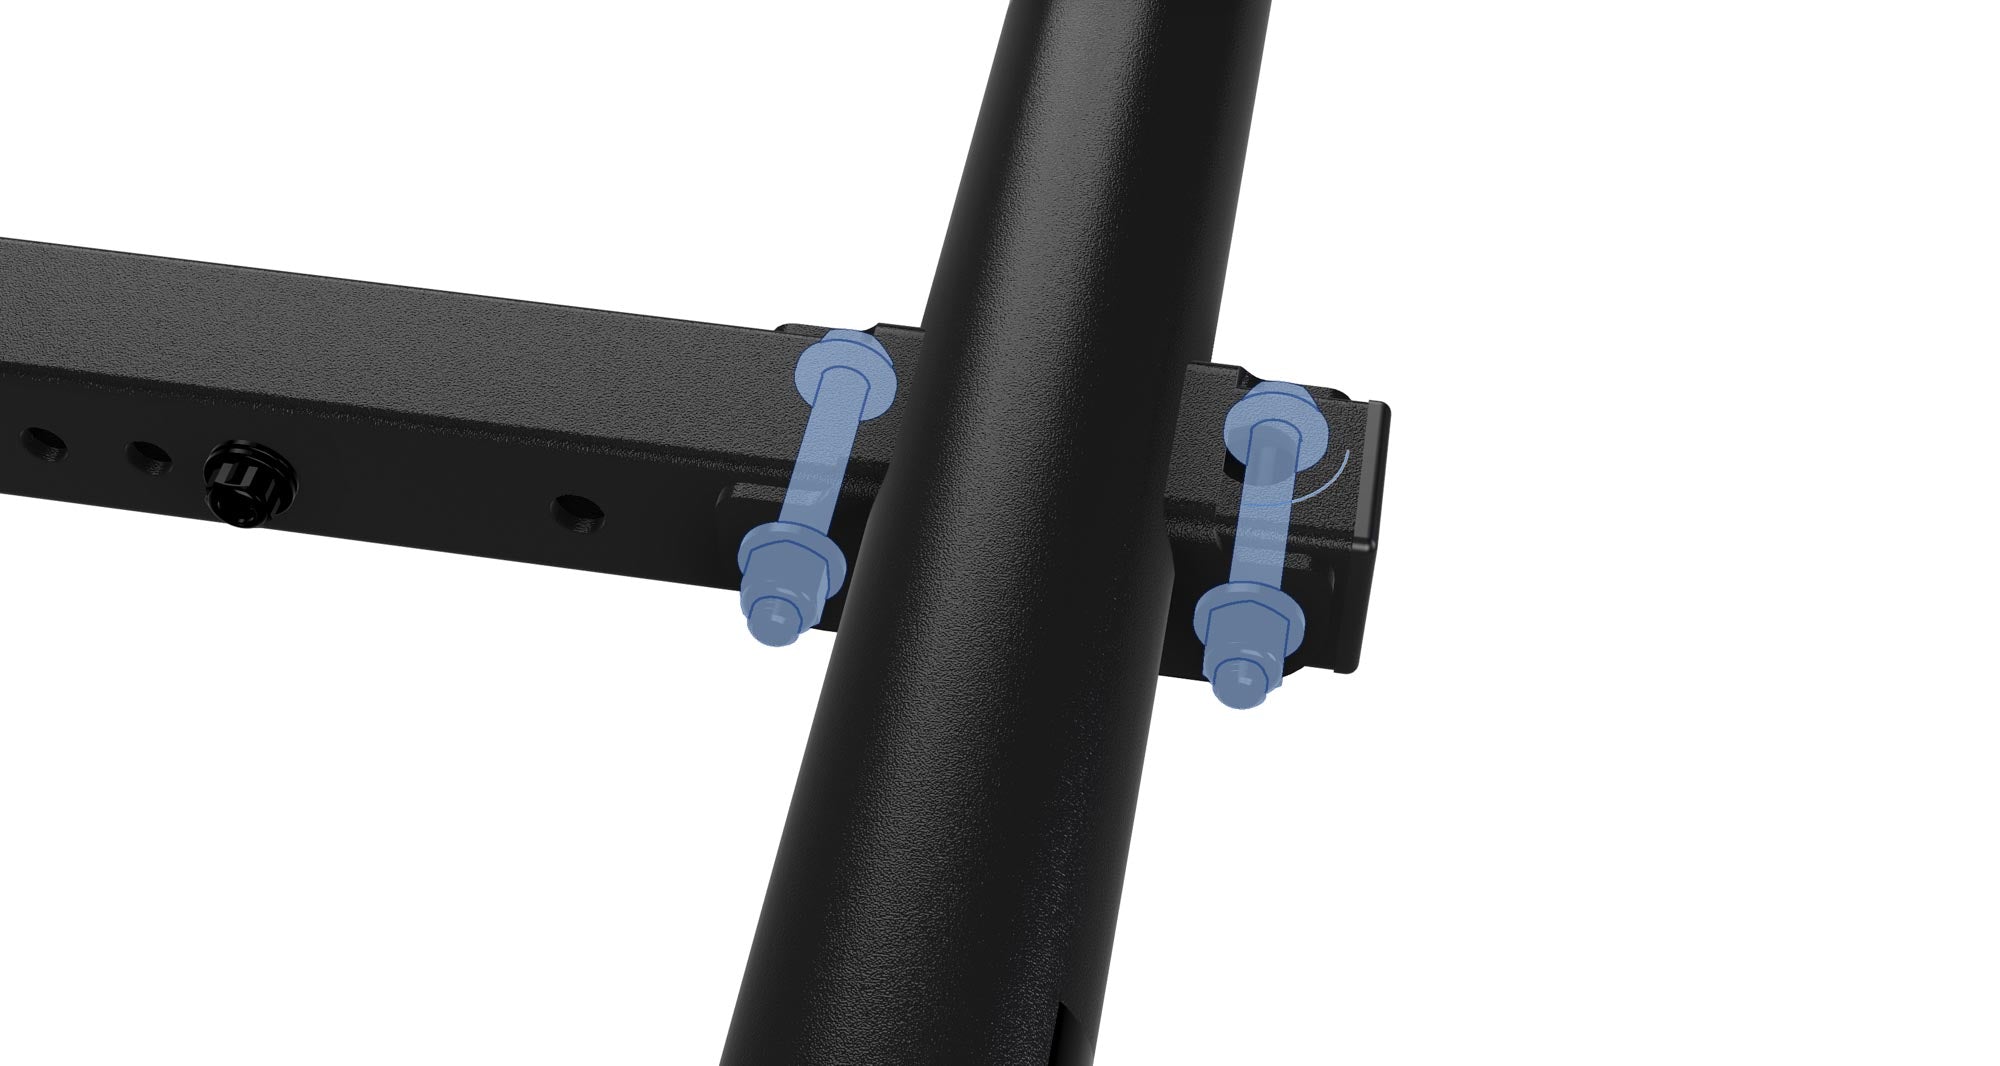
(E.) Secure and Tighten Platform to Receiver Tube
Place a washer and nut on the other side of the bolt and tighten. Repeat the process on both sides.

(F.) Tighten Until Side Gaps Close
If needed, continue tightening until the side gaps are closed and the connection is tight. This will eliminate the platform from rocking back and forth. For geeks: Max torque 75 ft-lbs
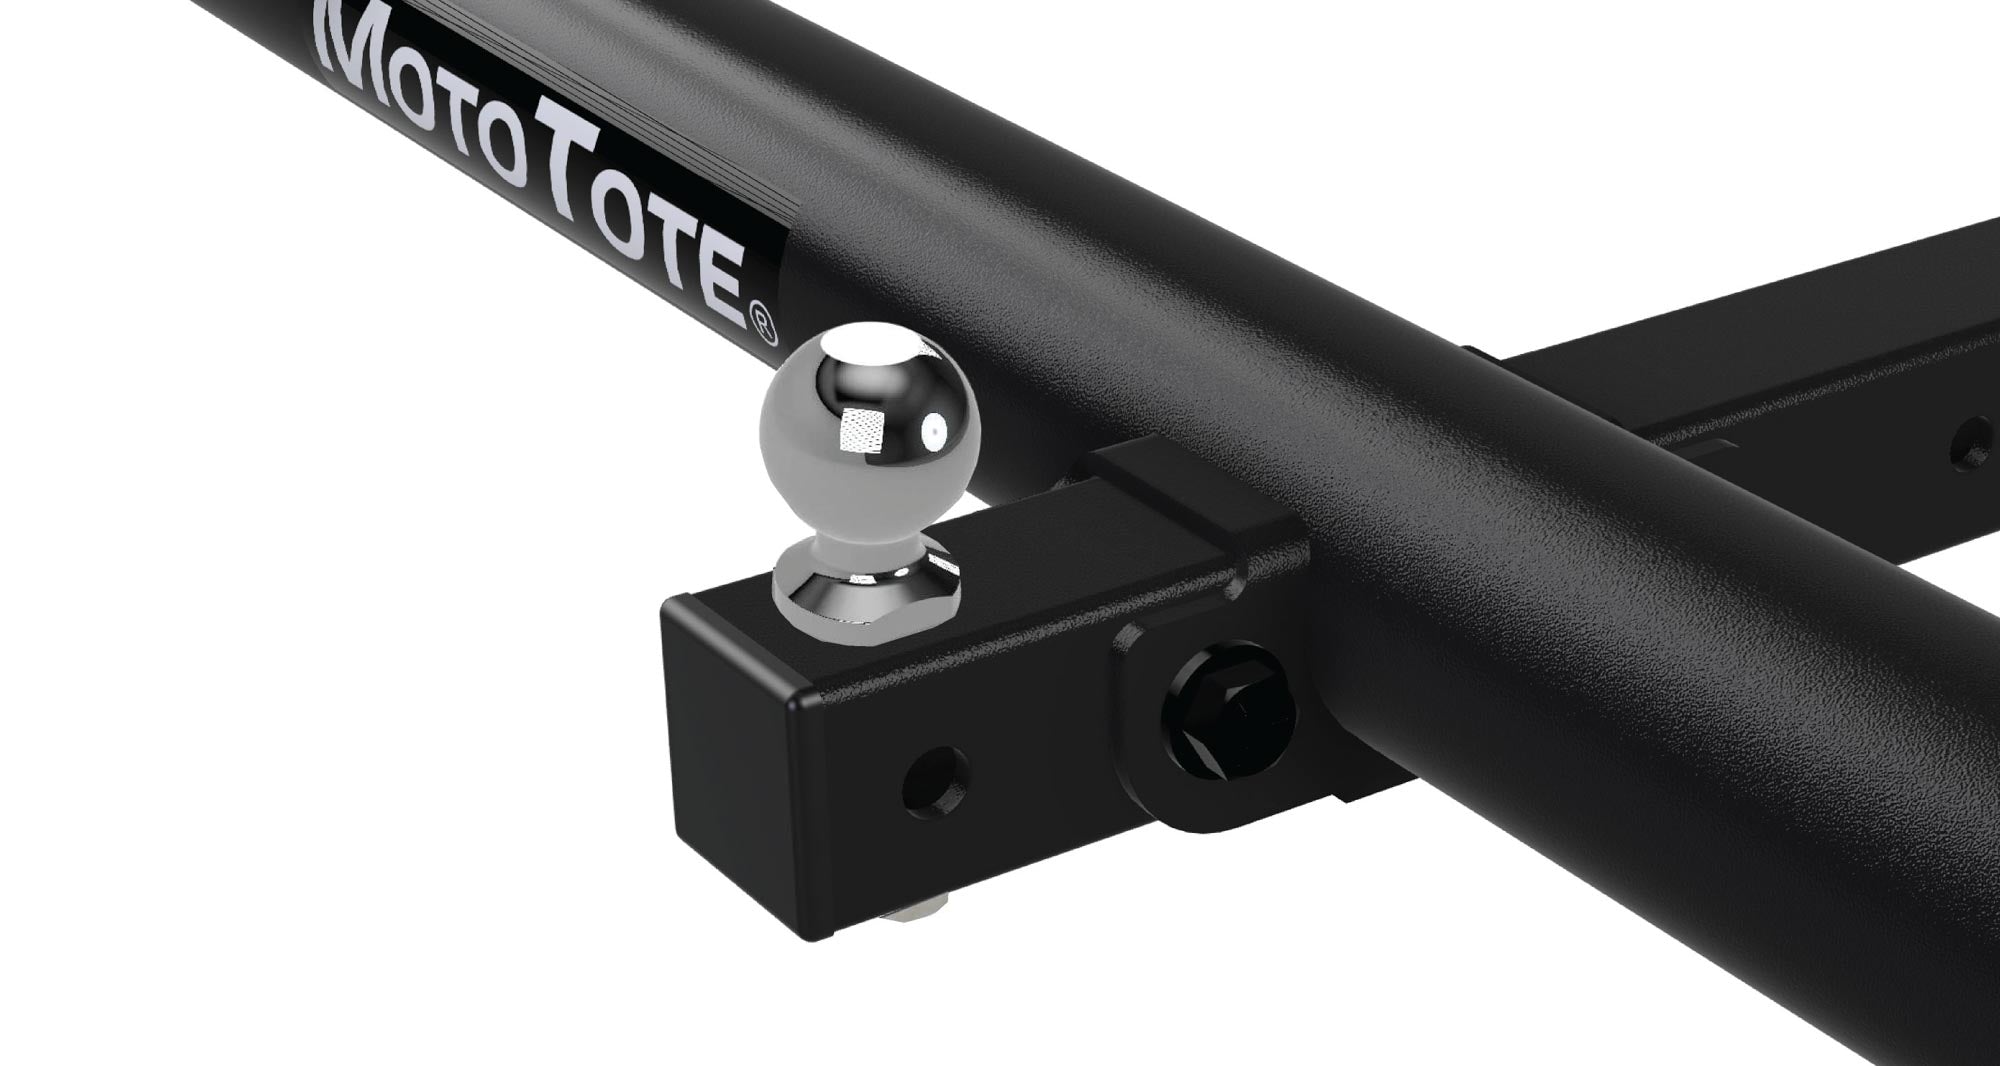
(Optional) Add a Trailer Ball
The larger vertical hole in the square tube is for a 5/8 inch trailer ball, the smallest size by design. To install a trailer ball, move the MTX Platform closer to the vehicle to expose the hole. Caution: Add the trailer’s tongue weight to your total hitch weight. The tongue weight is typically at least 10% of the trailer’s total weight.