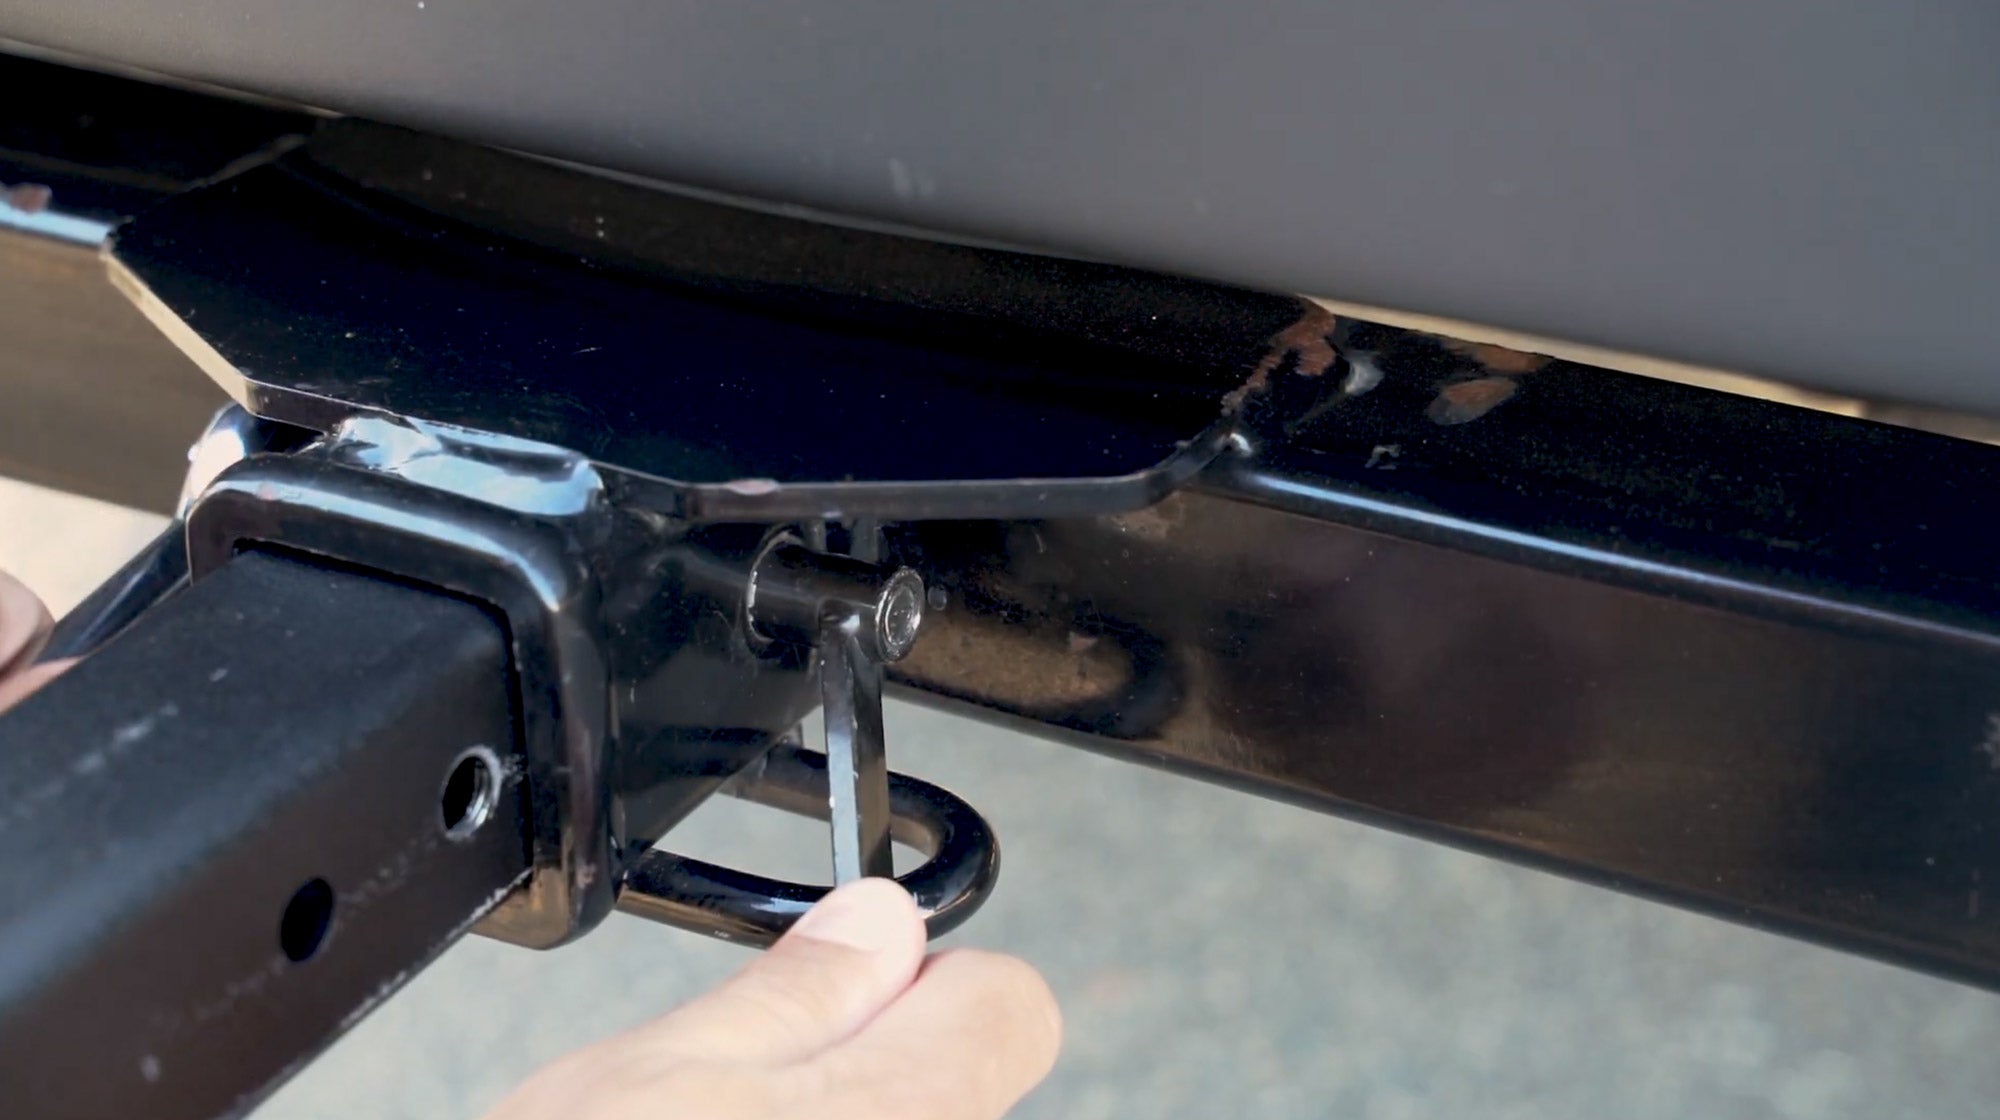
(A.) Attach Bike Rack to Vehicle:
Pick up the carrier and insert it in the hitch (if you didn't already in Step 1).Align hole on the hitch with one of the four holes on the carrier for the desired distance off the back of vehicle.
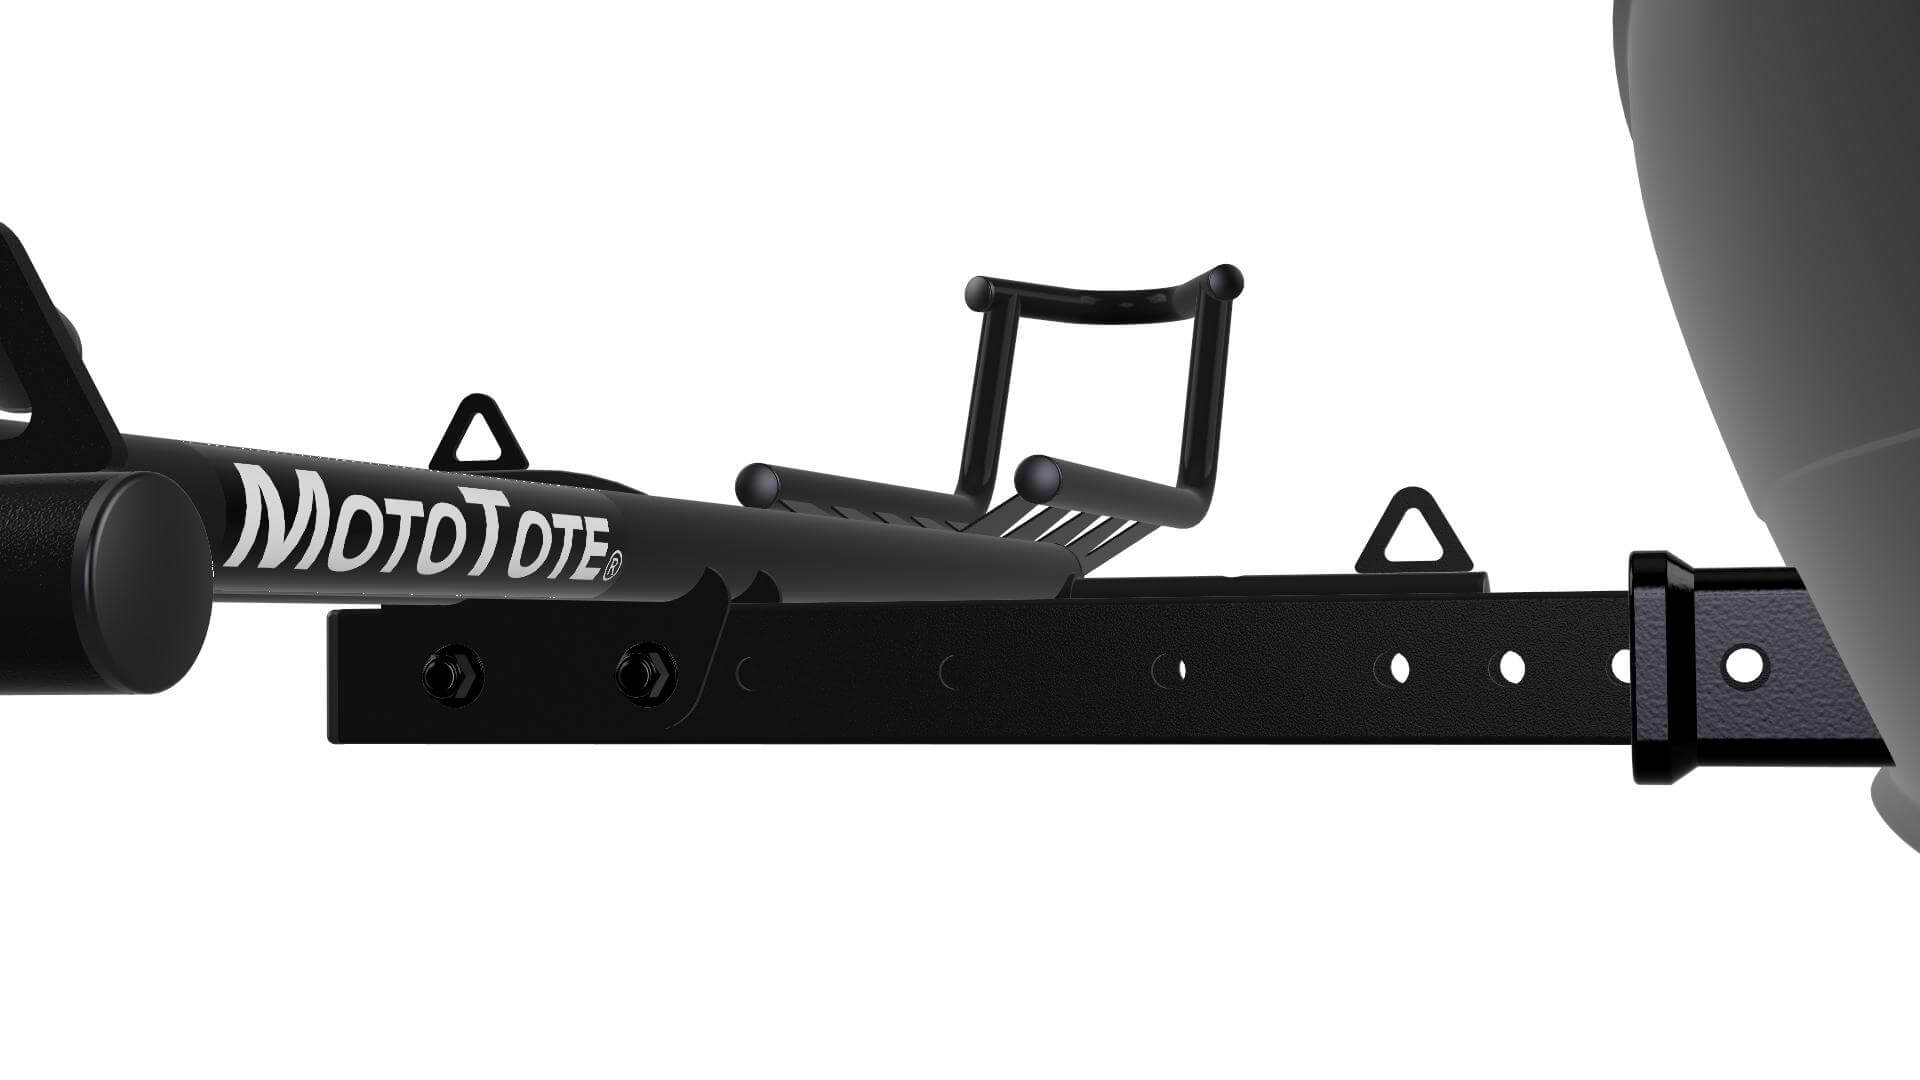
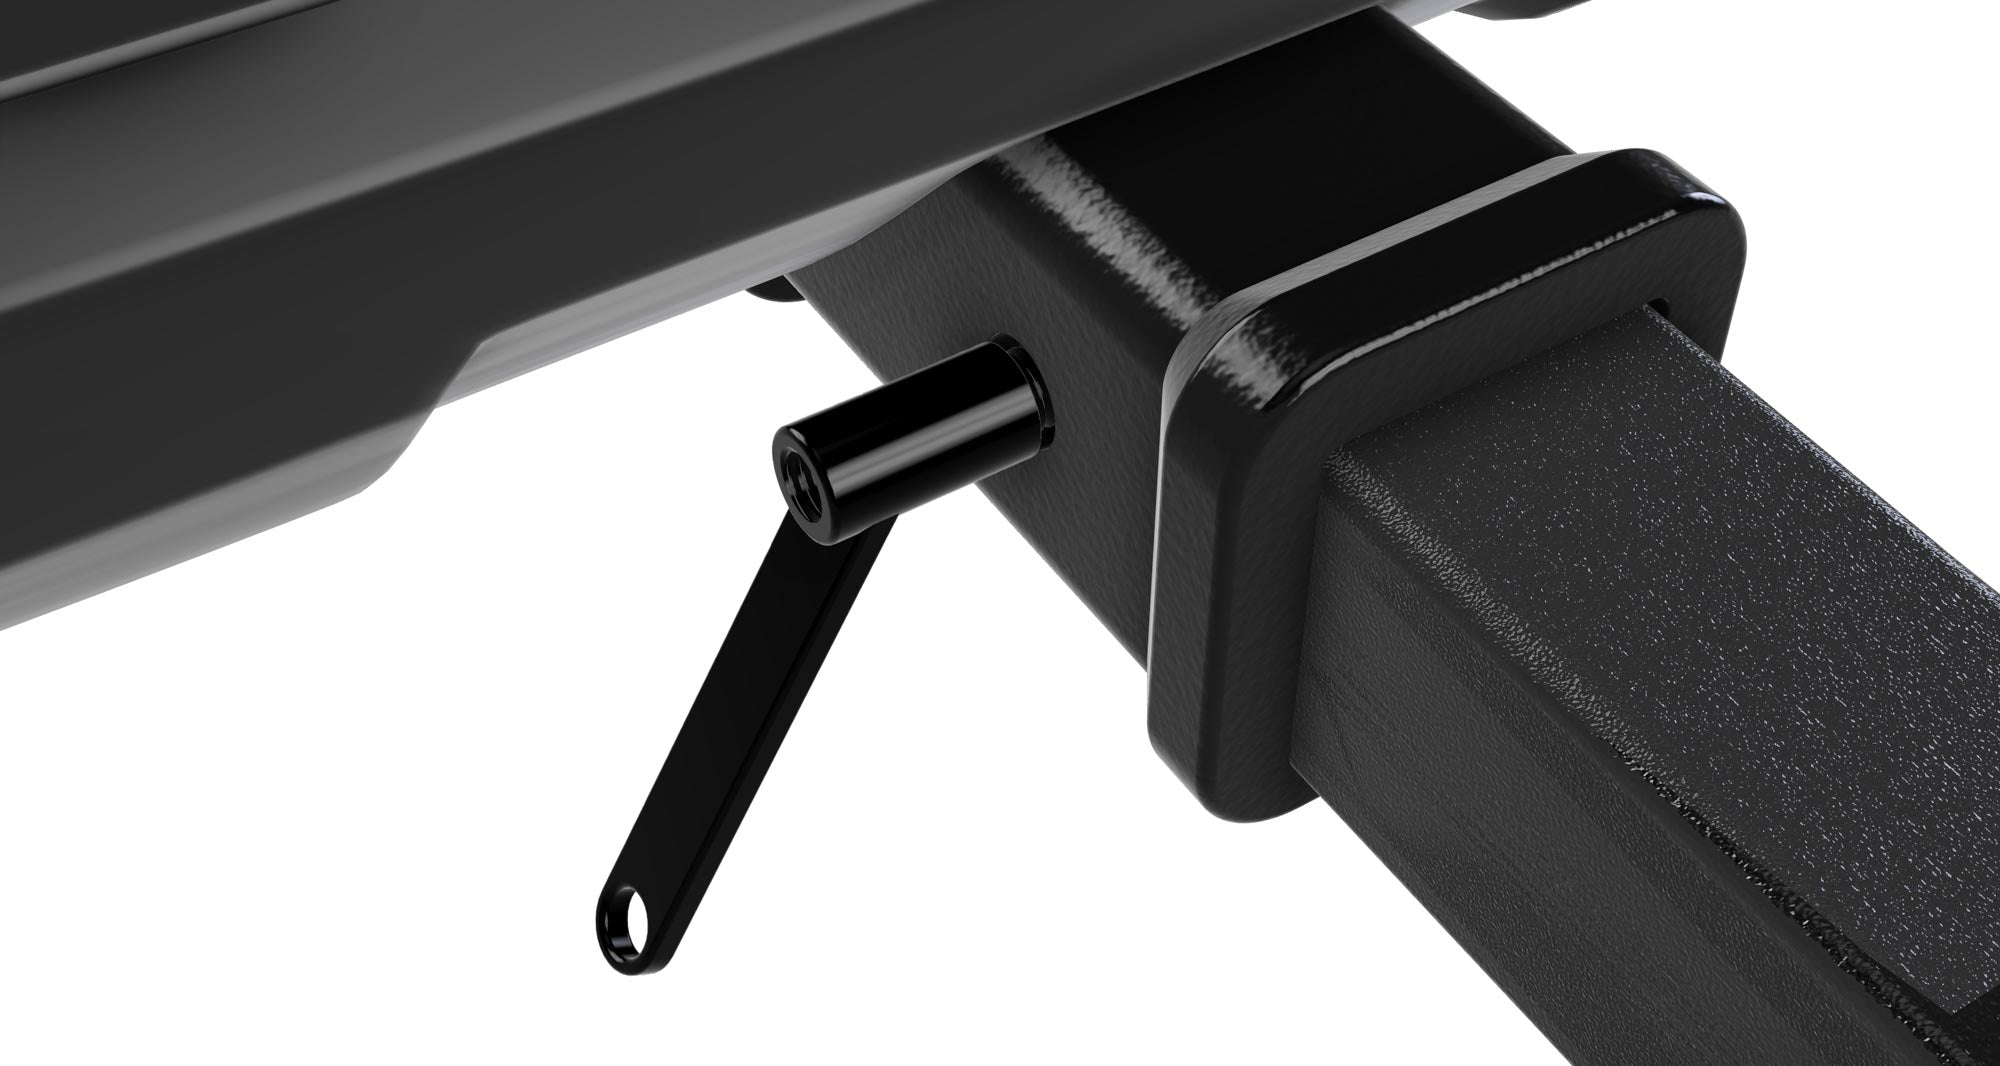
(B.) Insert ZeroWobble Bolt Through Hitch Pin Hole
Put the washer on the head of the bolt and insert it through the hitch pin hole and receiver tube.
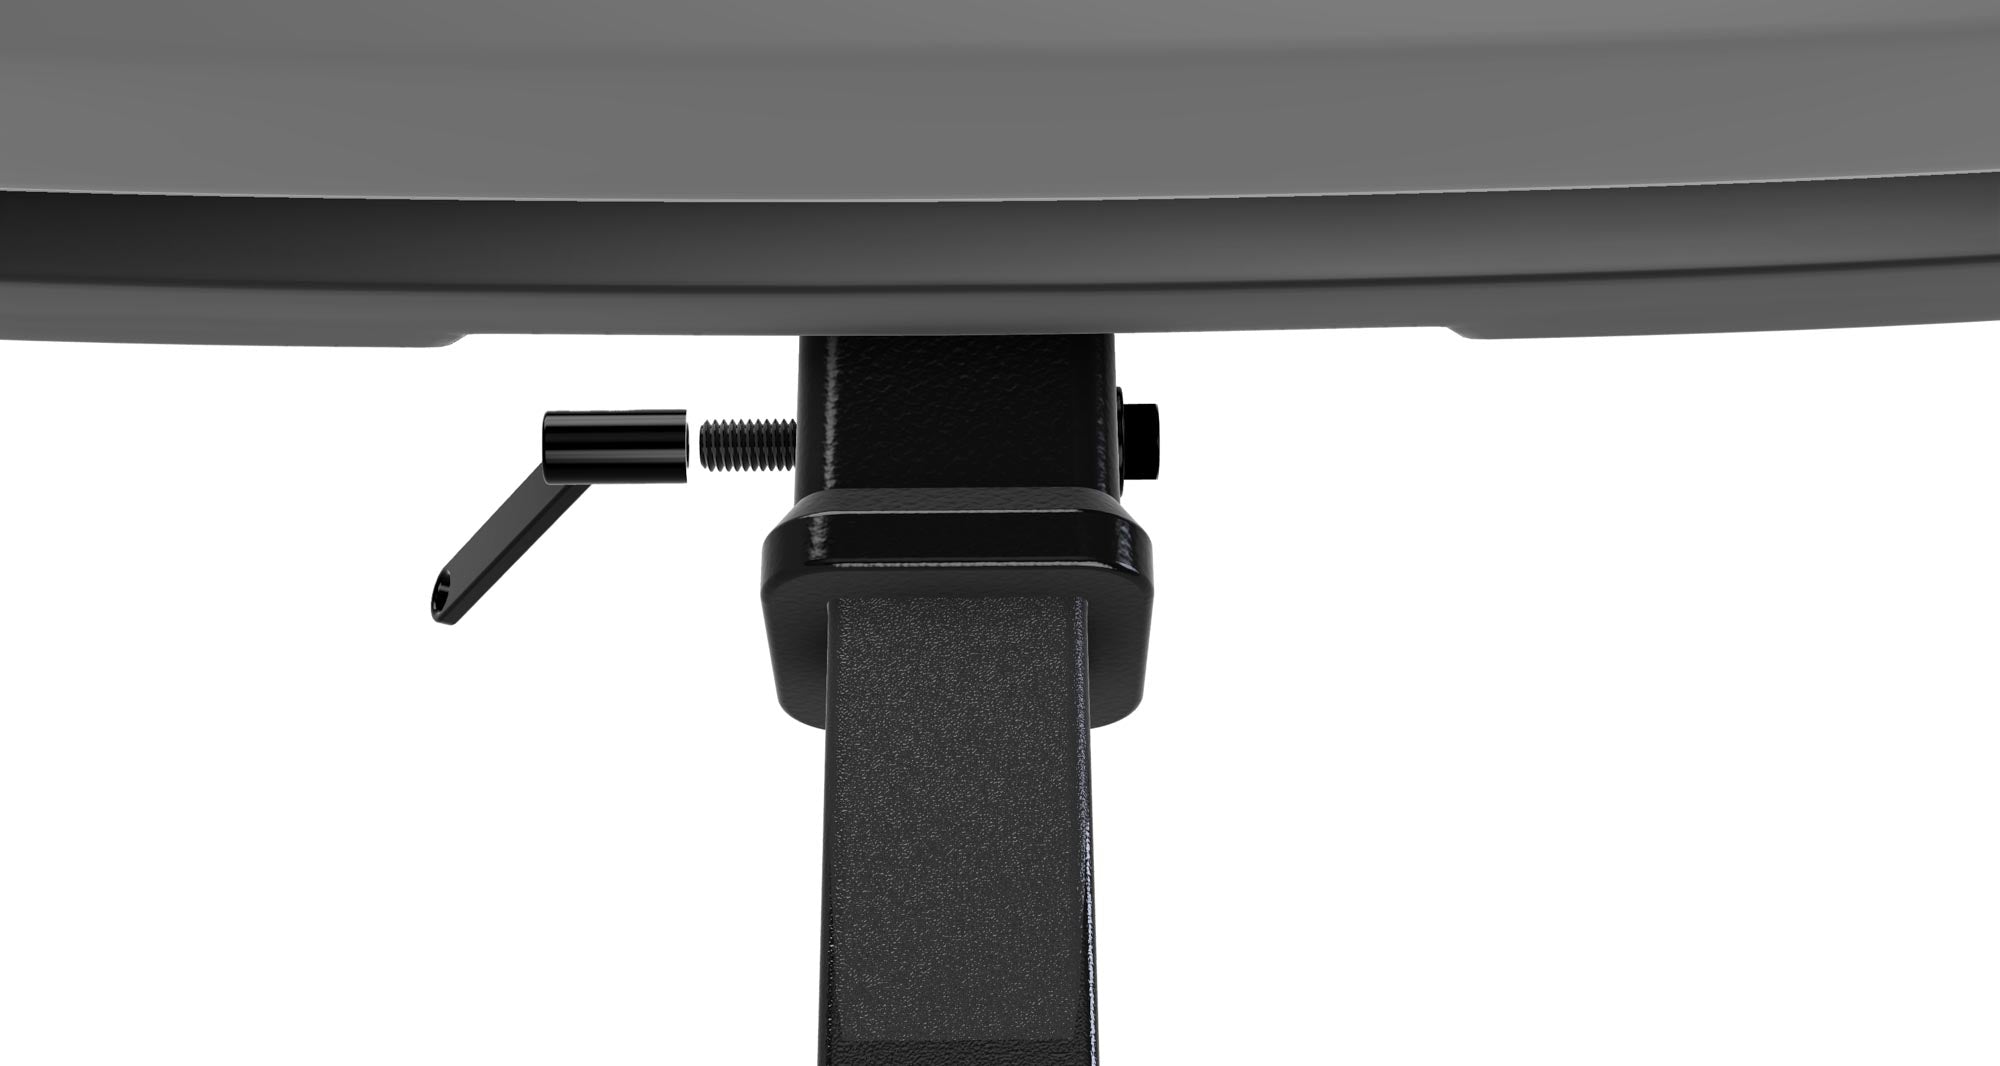
(C.) Thread ZeroWobble+ Nut to Bolt
Thread the ZeroWobble+ barrel nut with handle onto the bolt.
(D.) Tighten Bolt, Secure ZeroWobble+ Handle
Tighten bolt & secure ZeroWobble+ handle (by hand or lock it in a position for example against your hitch). Continue tightening until it stops.
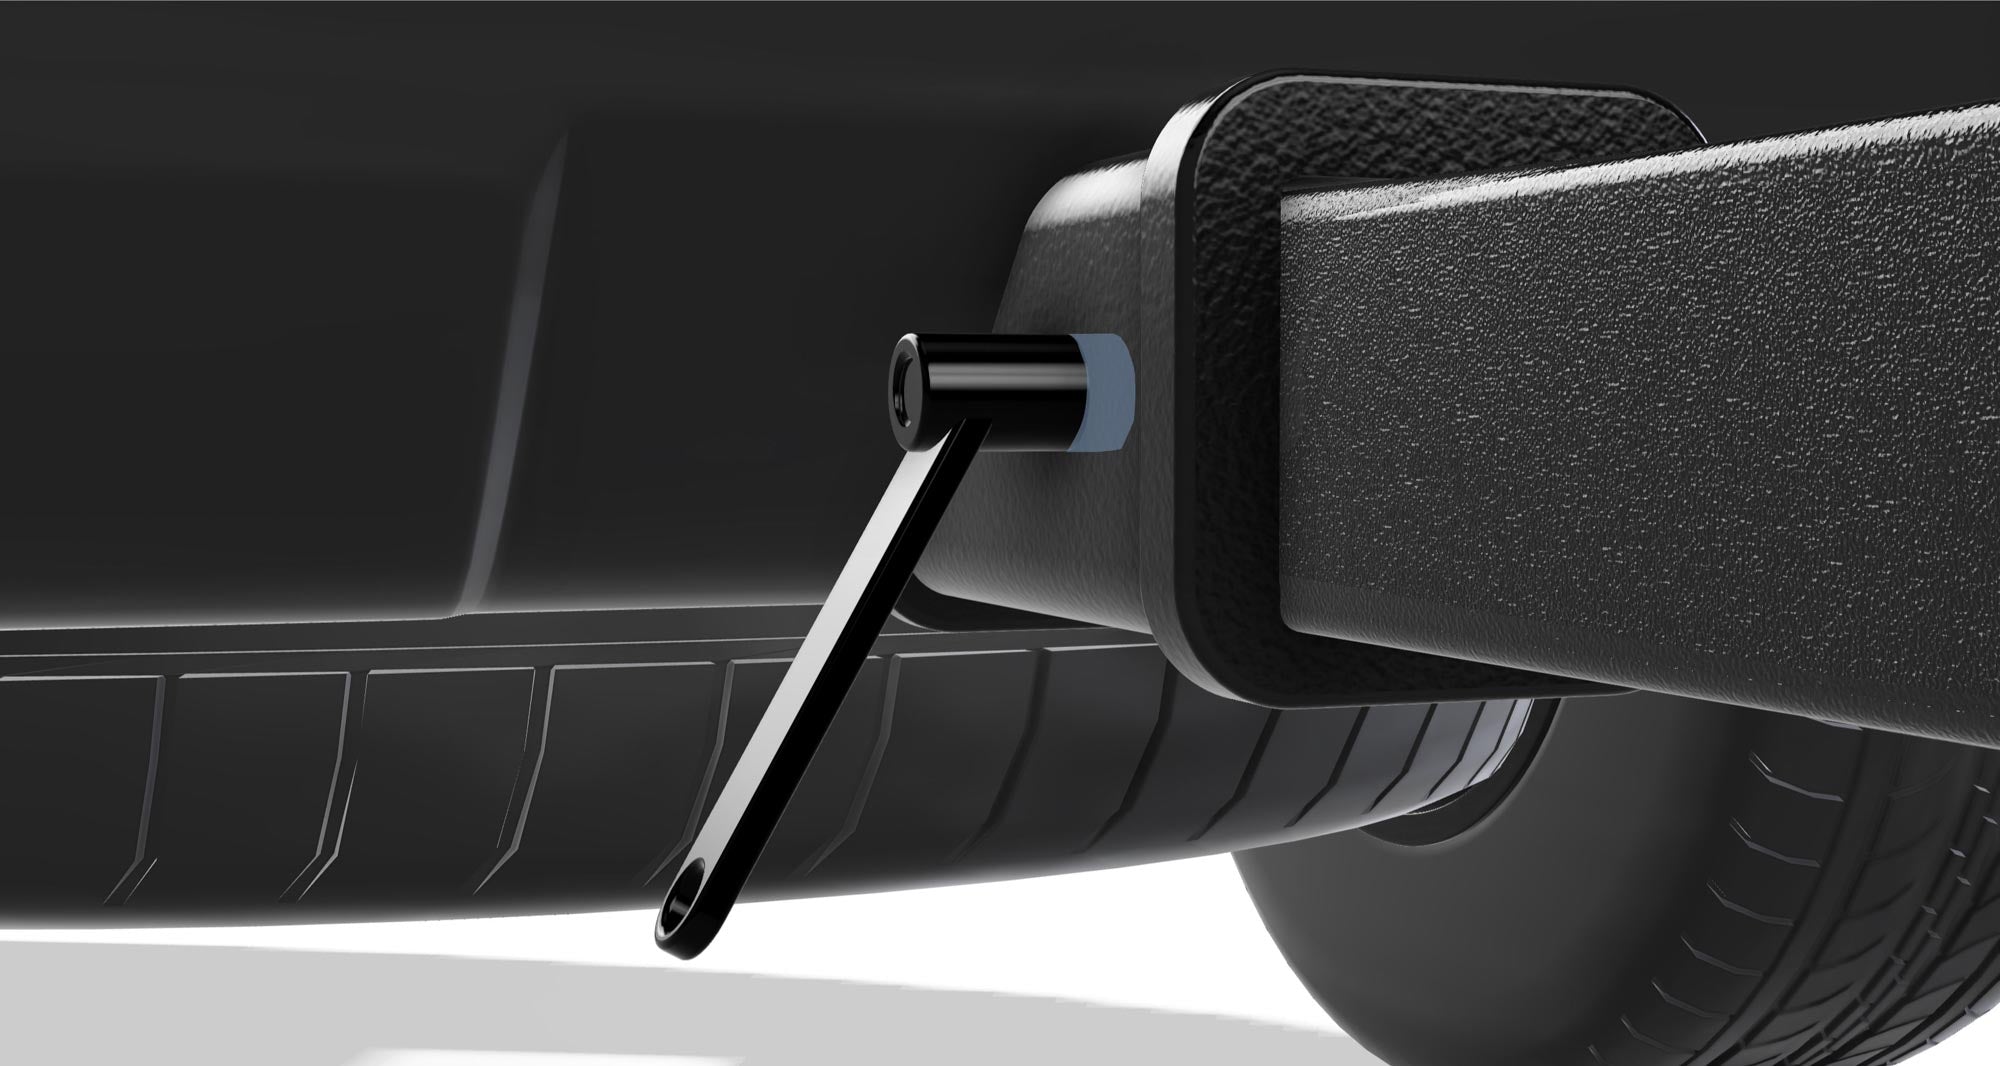
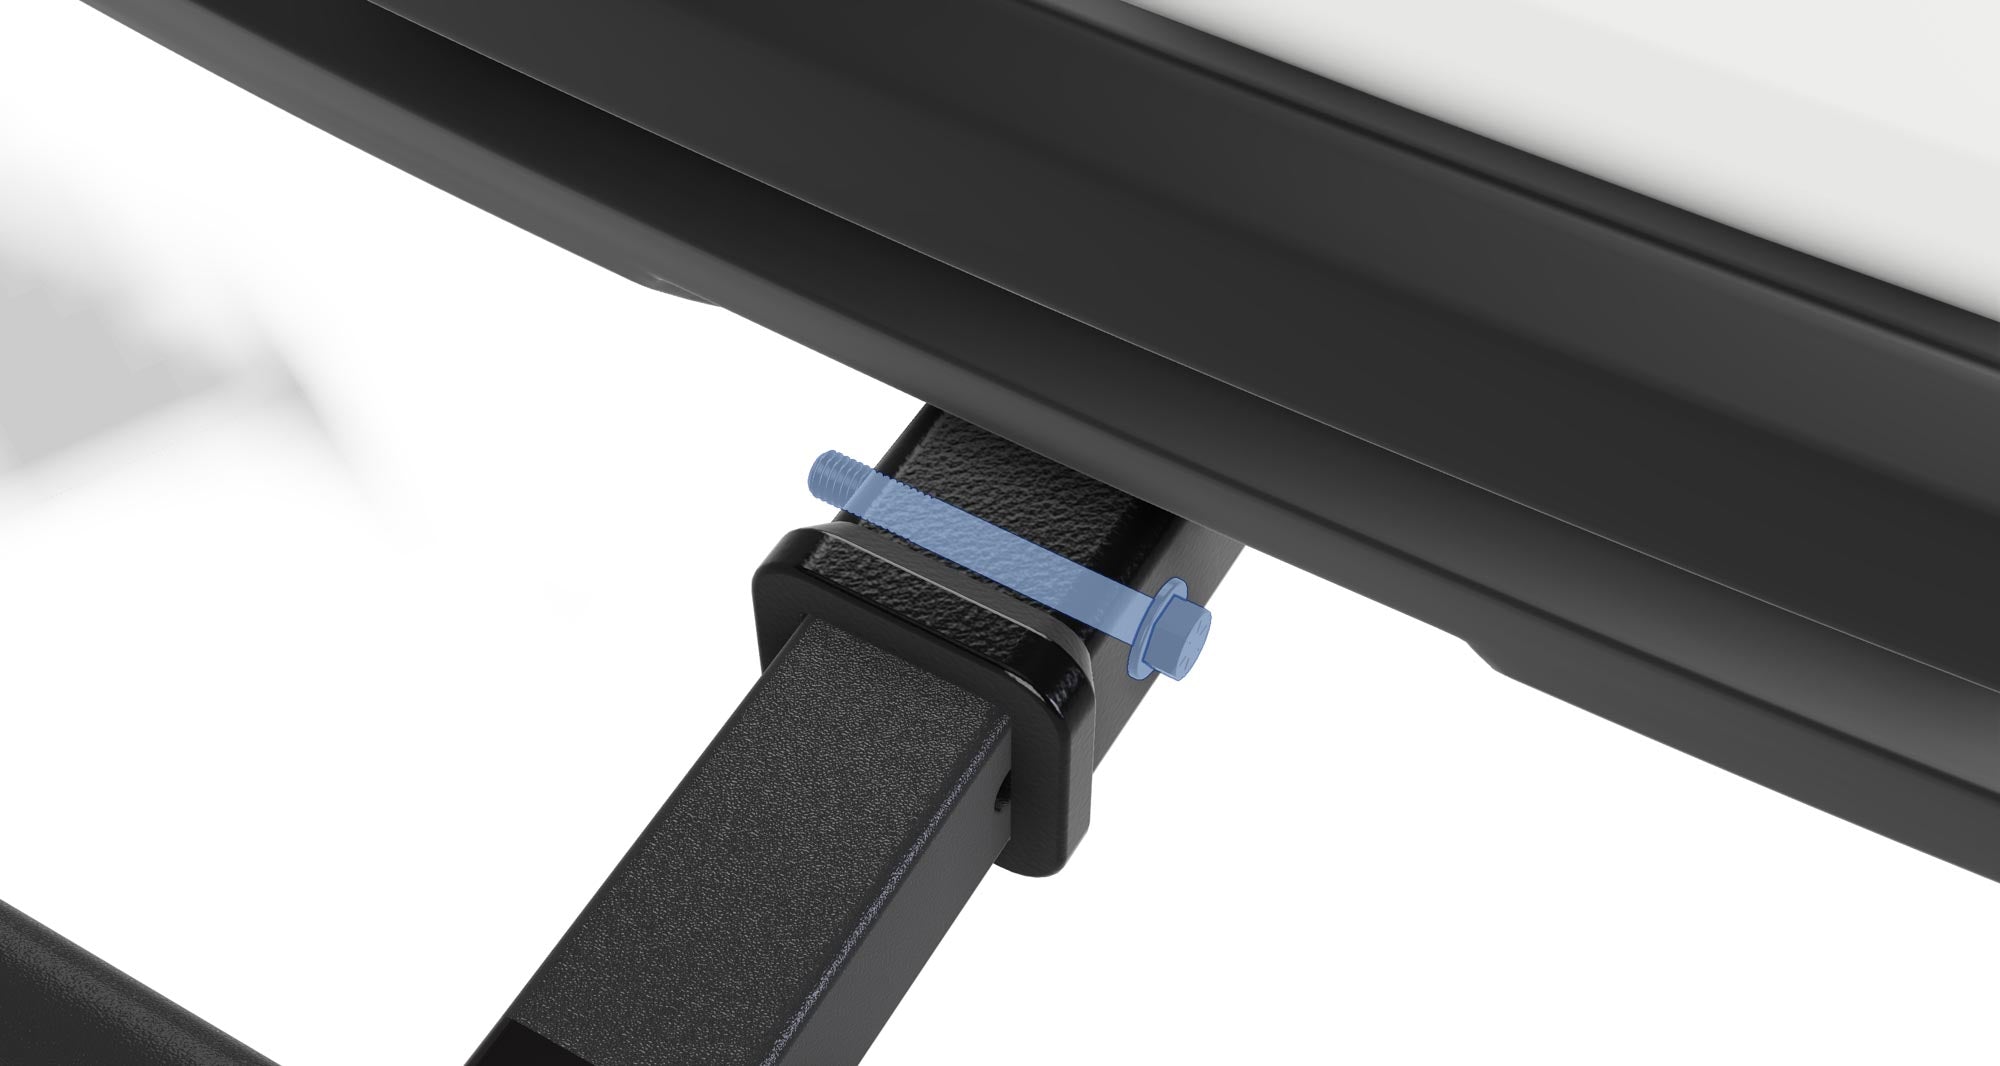
(E.) Ensure Nut Recesses into Hitch Pin Hole
If needed, keep tightening until the barrel nut recesses into the hitch pin hole (as shown by the blue area in the image above). You can also validate this as the end of the bolt should be virtually flush with the back of the nut. This is critical to eliminating any rotational movement. (For geeks, tighten to 55 ft./lbs. of torque.)